“Shallots are for babies; Onions are for men; garlic is for heroes.”
unknown
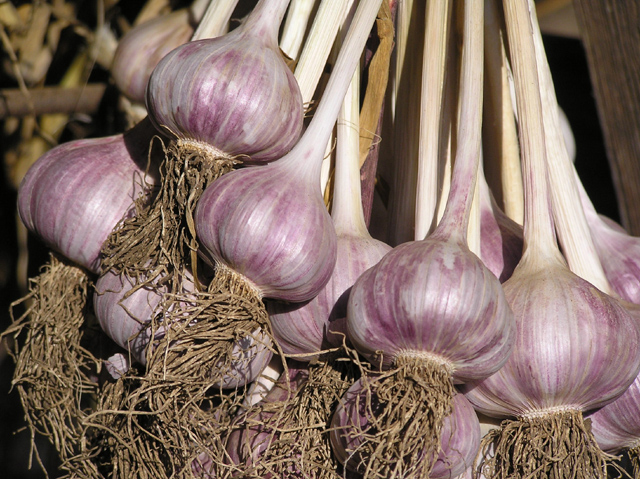
Garlic. When we think of it, pungent and smelly come to mind. So it might surprise you to know that garlic is a member of the lily family and is a perennial plant that is cultivated world-wide.
Garlic has earned it’s modern reputation mostly as a staple in Mediterranean cuisine, but it’s medicinal and therapeutic qualities have been known since the most ancient times. Even pre-dating written history, garlic has been used to treat a wide variety of illness and conditions. In fact, the earliest documents describing the medicinal qualities of garlic are 5,000 year old Sanskrit writings.
Hippocrates, Aristotle and Pliny cite numerous therapeutic applications for garlic. It’s health benefits were known throughout all of the ancient civilizations including the Greeks, Romans, Egyptians, Babylonians and Chinese.
It would seem truly, that God, in His abundant wisdom really created garlic to be both our food and our medicine, because even the Israelites grumbled at not having cucumbers, leeks or garlic during their 40 year sojourn from Egypt to the Promised Land.
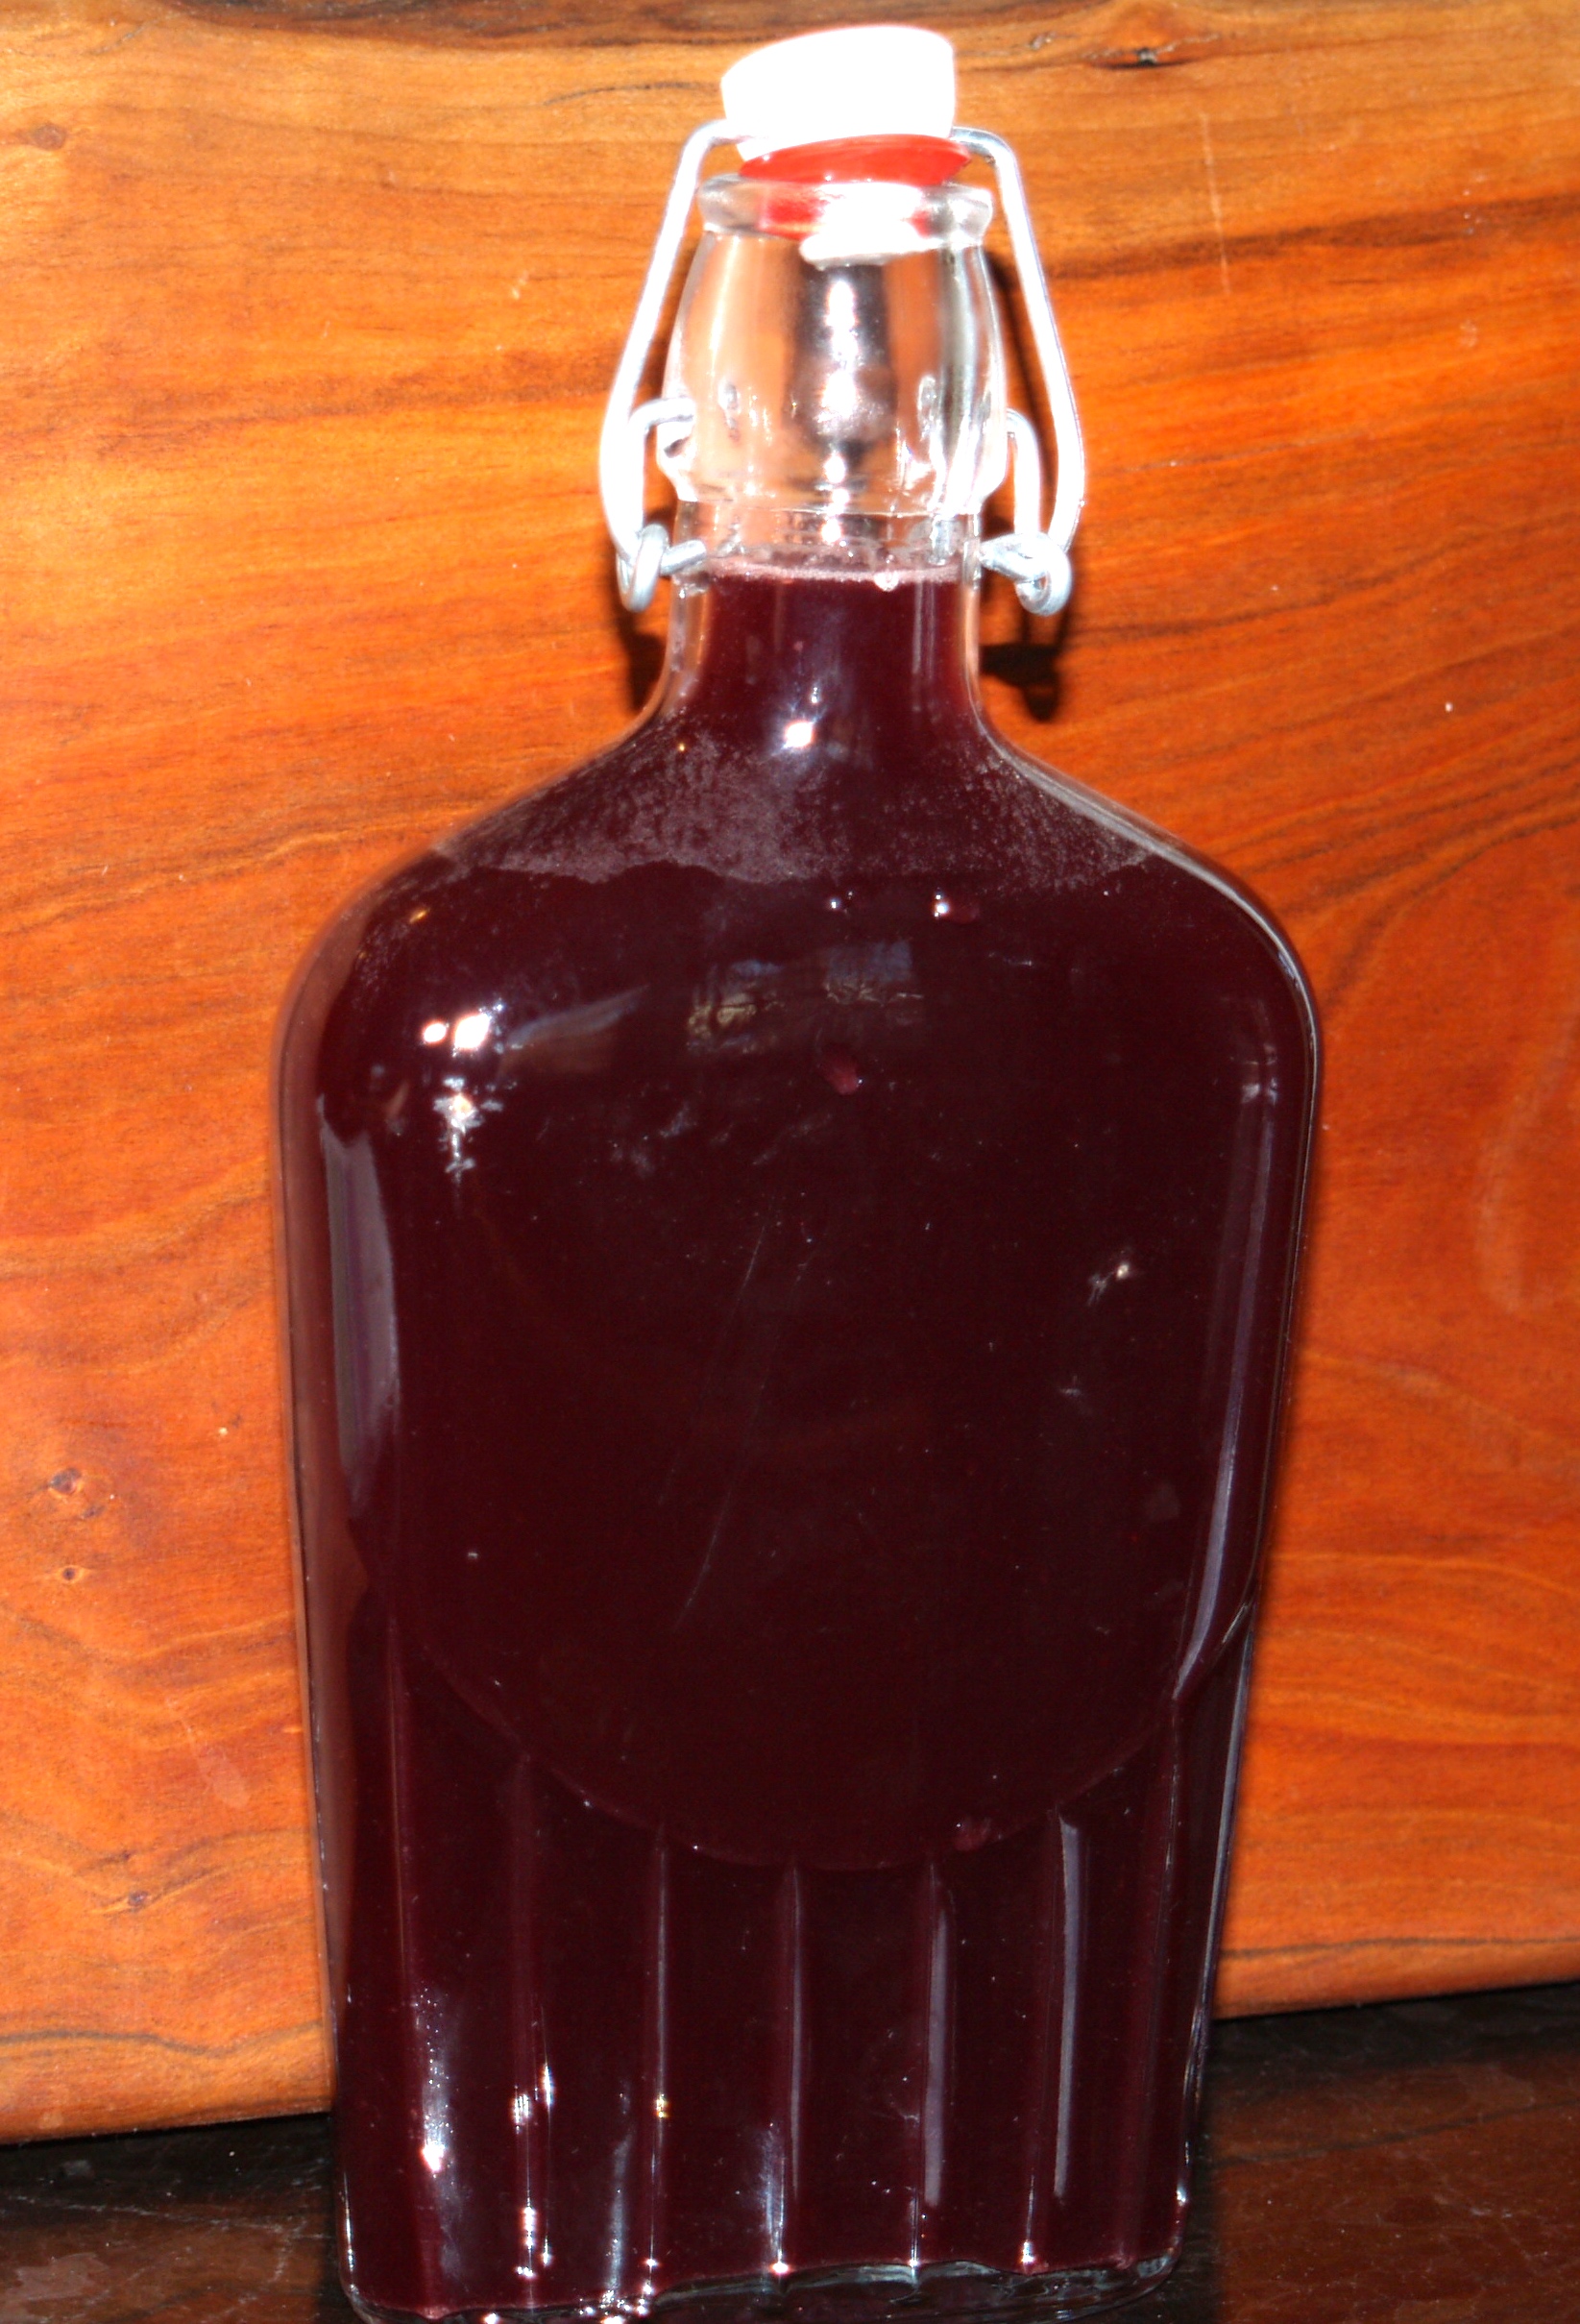
But, one of my favorite stories of garlic, is that in 1721 in Marseilles, France a terrible plague broke out. Four condemned criminals were recruited to bury the dead (which in and of itself was a death sentence). And so it was amazing that hese four men were immune to the plague. Immune! The reason – they had a secret concoction made of macerated garlic and wine.
This drink became known as “vineigre des quatre voleurs” or “four thieves vinegar” and it is still available in France today! Not going to be in France any time soon? You can make your own . There are several recipes online, but make sure to use one that actually lists garlic as an ingredient… some omit it. Impressive, is that even WebMD has a recipe for it.

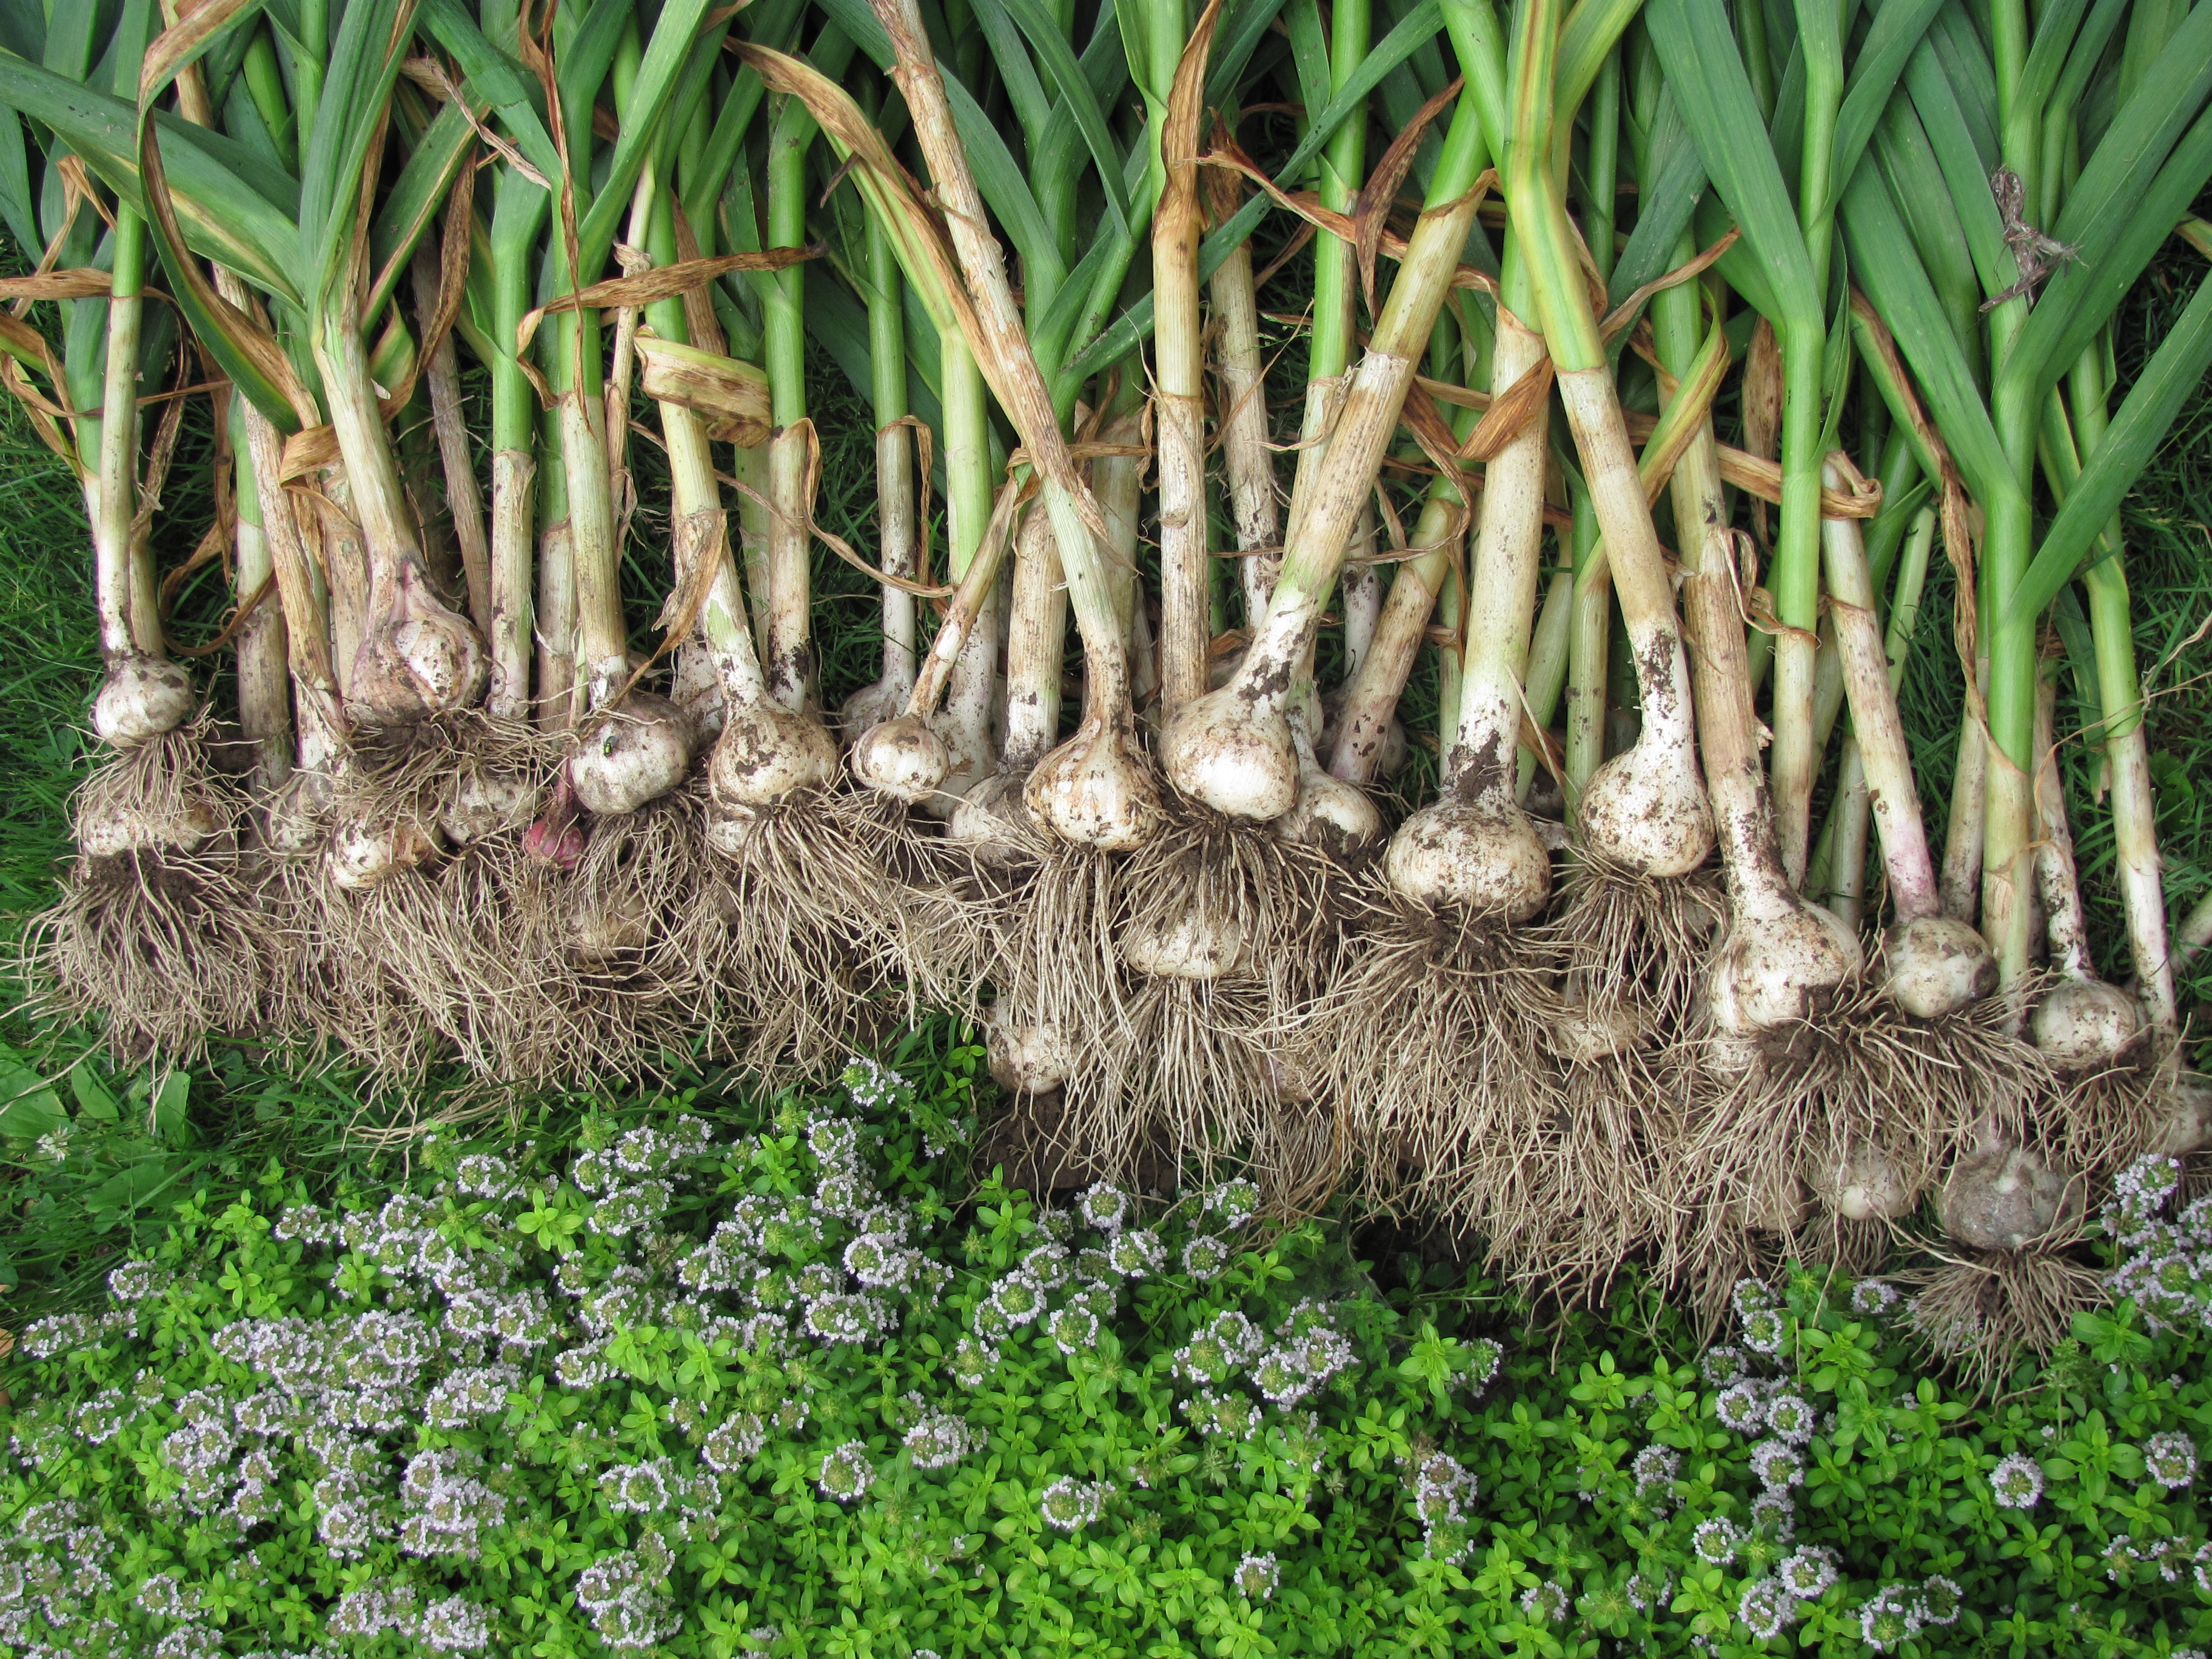
In our garden, garlic is a pleasure to grow – mostly because it needs little work. We usually plant in the fall, and it’s a great winter crop. The bugs don’t like it and the weeds don’t hinder it.
If you garden, then you already know that you can grow garlic at a fraction of what it costs at the farmer’s market or store. It’s antimicrobial – that is antibiotic, anti fungal and antiviral. These qualities make it a nutritional virtue and worthy of every meal. But it is also immune enhancing, anti-cancer promoting, a protective factor against heart disease and also anti-inflammatory.
Below is a summary of the nourishing benefits of garlic.
[box]
-
Garlic has potent medicinal properties. Most of garlics health benefits come from the sulfur compounds that are formed when a clove of garlic is chopped. This compound is called allicin has powerful biological effects.
-
If you suffer from frequent colds, seriously consider adding garlic to your diet, or taking a supplement. Garlic helps you fight the common cold, in part by boosting the immune system. A daily garlic supplement can reduce the number of colds by more than 50%.
-
Even if you should come down with a cold, garlic can reduce the length of it by 70%. In clinical studies, it reduced the duration of participants colds from 5 days to 1.5 days!
-
Garlic can improve cholesterol levels. This is good news, because there is much talk these days about the long term dangers of statin use.
-
Garlic is very antioxidant. Antioxidants support the bodies protective mechanisms against oxidative damage.
-
Garlic aids the bodies detoxification processes. God created you with a built in detoxification ability, but those organs which include the liver, kidneys, skin and lymph need support of adequate minerals and nutrients to function properly. At high doses the sulfur compounds in garlic (which support the liver pathways for heavy metal detox) have shown to protect the organs from heavy metals.
-
“Employees at a car battery plant, where there was excessive exposure to lead, found that garlic supplementation reduced the lead levels in the blood by 19%. It also reduced the signs of clinical toxicity.” Well Being Journal
-
Garlic has broad spectrum activity against many bacteria, viruses, worms, and fungi. Garlics antibacterial properties have been shown effective against even bacteria that are resistant to one or more antibiotics.[/box]

If you think you might like to grown your own garlic, I love Southern Exposure Seed Exchange varieties and Baker’s Creek Heirloom Seeds. They are tried and tested favorites. You can also grow your own, by simply taking any garlic cloves that have begun to show green sprouts on your counter. Bury them in a pot or in your garden. They will grow.
It’s good to have a planting guide for your region. If you live in the mid-Atlantic,Southern Exposure Planting Guide is the planting guide that we use. Baker’s Creek also has a planting guide. Finally, the National Gardening Association also has some good information on planting for your area.
Garlic is really pungent when eaten raw but if you cook it, it’s delicious enough to eat it on it’s own. If you think the Four Thieves Vinegar is a little too dicey, this is a great recipe highlighting the subtle flavors of baked garlic.
[box]
Roasted Garlic Recipe
Ingredients:
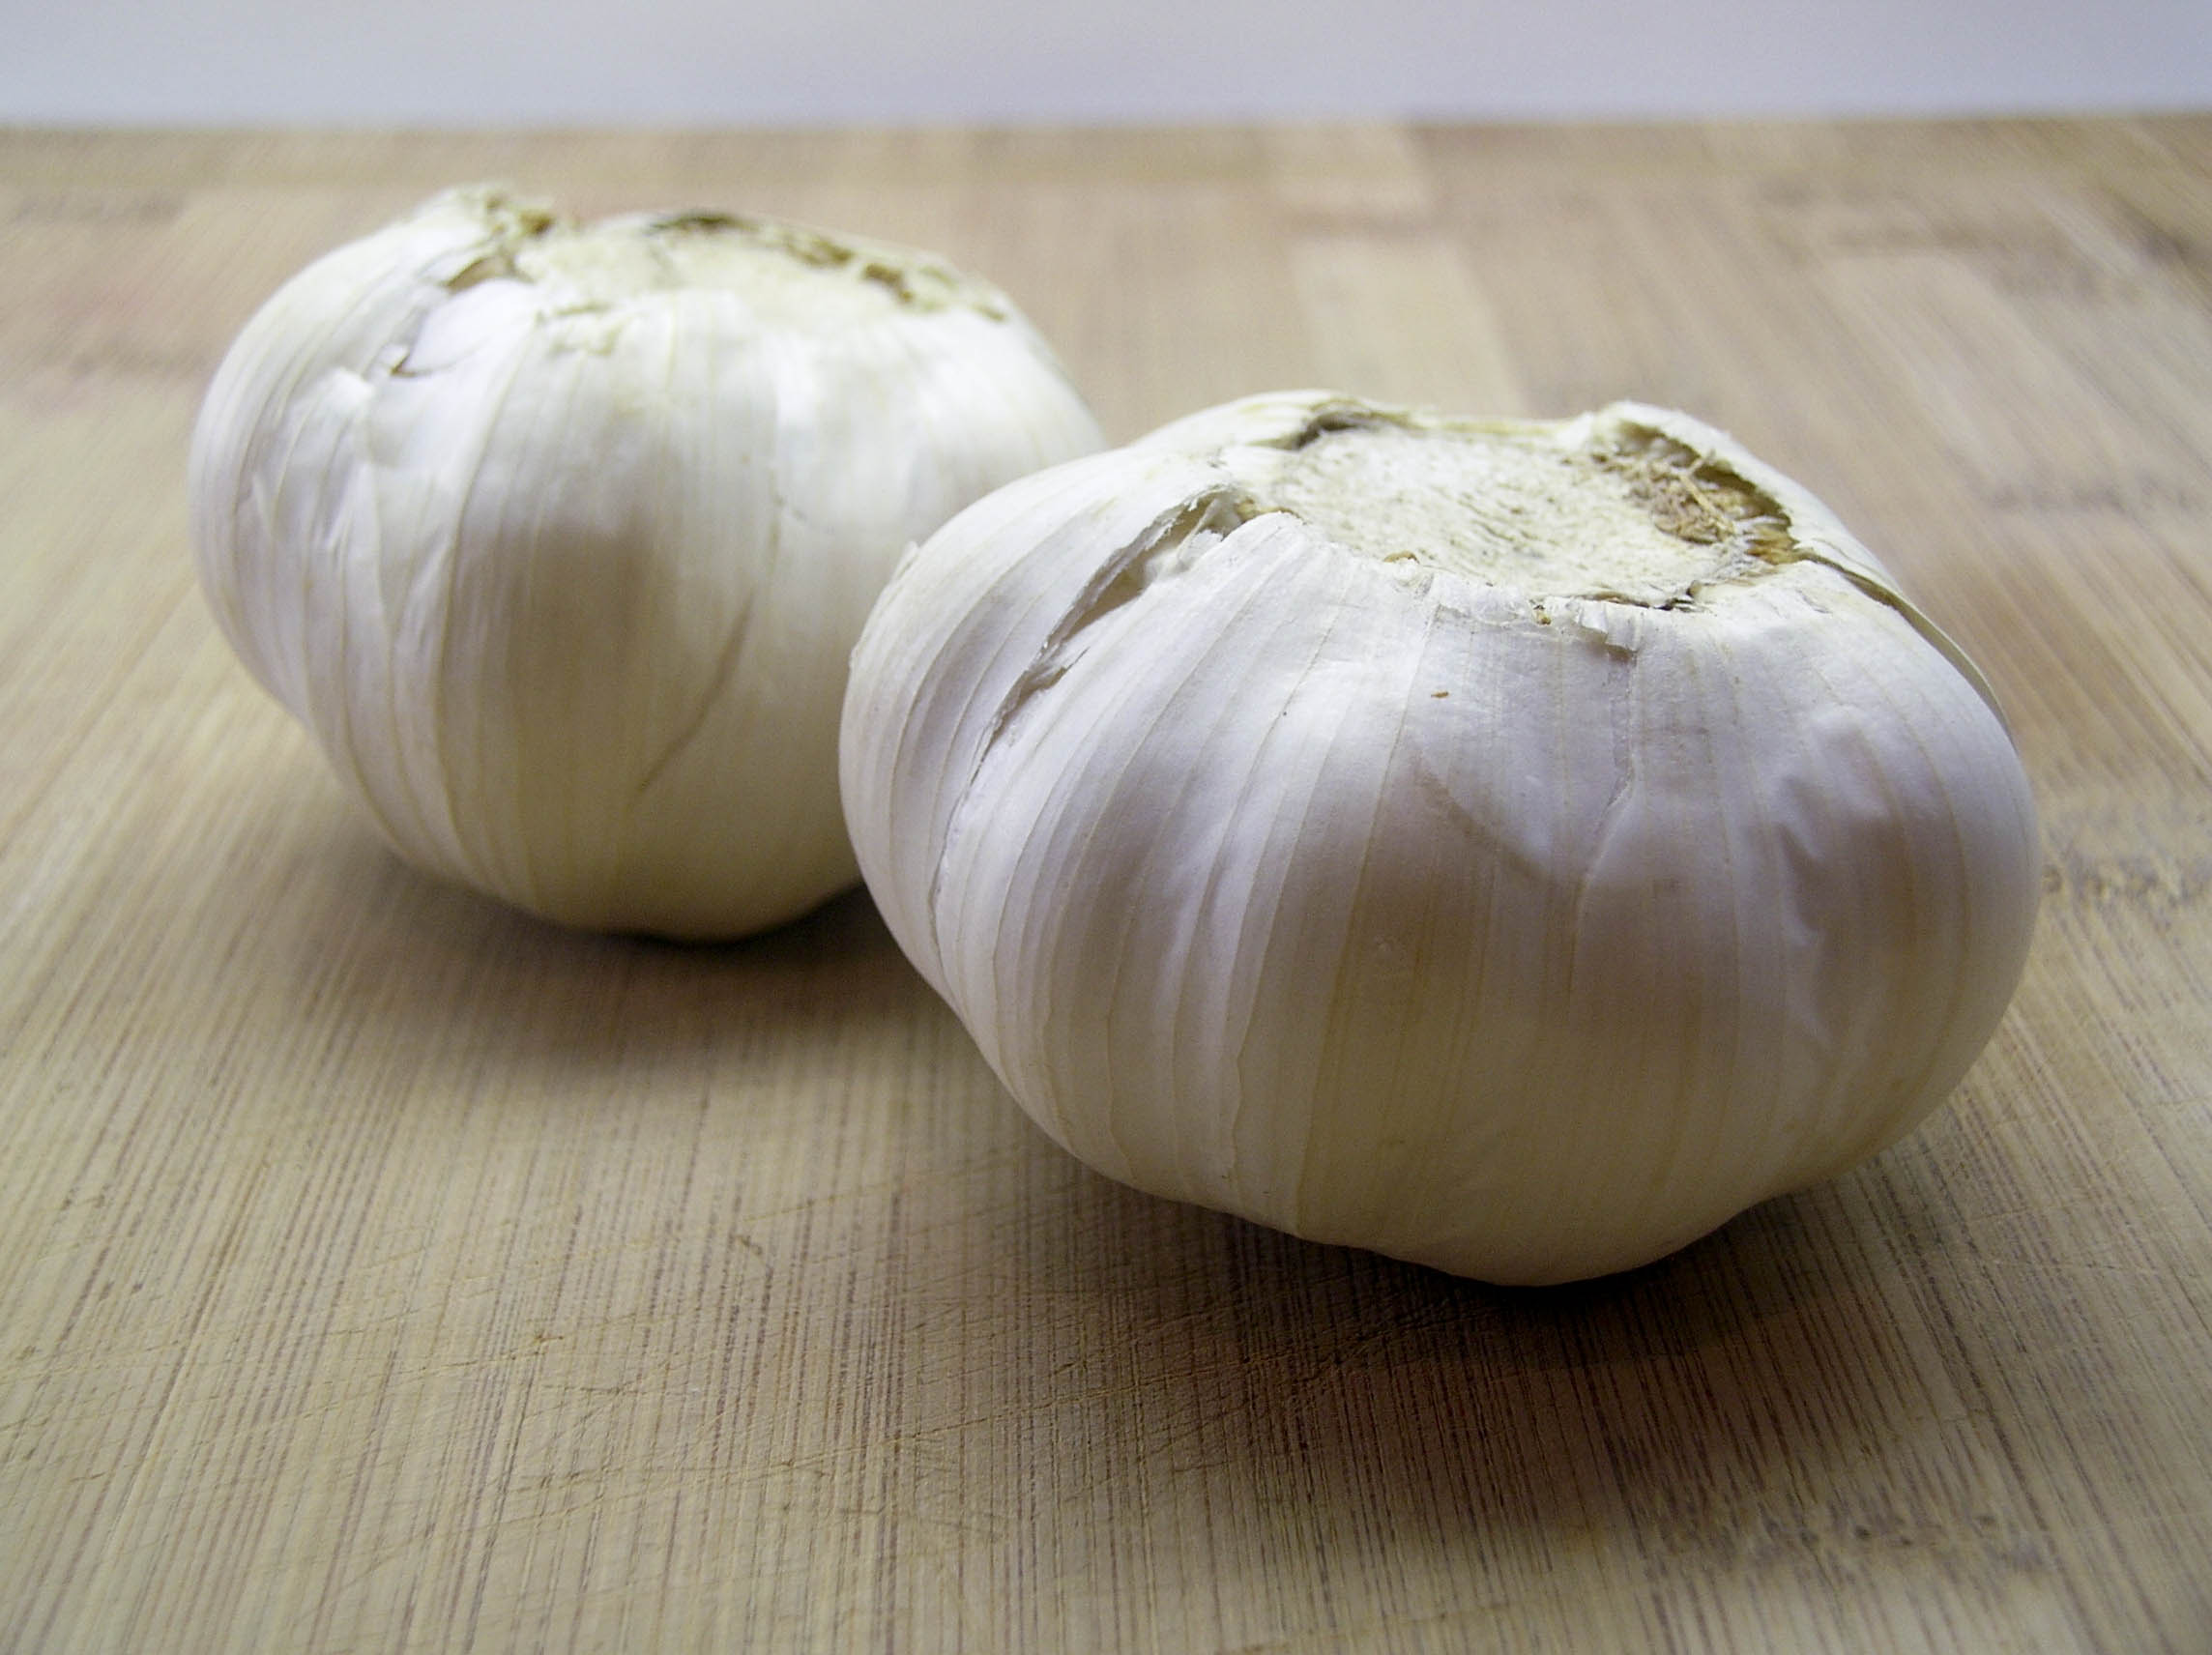
- 2 heads garlic
- baguette slices
- olive oil
- diced fresh tomatoes
Preheat the oven to 375 degrees F.
Slice off the top each head of garlic to expose some of the cloves inside. Place the heads on a piece of foil. Drizzle with olive oil and wrap in the foil. Roast until cloves are lightly browned and tender, about 30 minutes.
Enjoy it plain, or smear a clove atop a toasted baguette slice, drizzled with olive oil and sliced tomato.
[/box]
Resources:
Murray, M., & Pizzorno, J. (1998). Encyclopedia of natural medicine
The Powerful Health Benefits of Garlic. Well Being Journal. Vol 24, No 1, January/ February 2015