potato galette

IMG_3821

He became man and lived in this world. He ate and drank, and this means that the world of which he partook, the very food of our world became His body, His life. But His life was totally, absolutely eucharistic—all of it was transformed into communion with God and all of it ascended into heaven. And now He shares this glorified life with us. “What I have done alone—I give it now to you: take, eat.…”

~

Alexander Schmemann

If one intends to raise chickens, it’s a great thing to love eggs!  This spring our family acquired eight hens and as of now, we harvest six eggs a day, on average.  That’s 42 eggs a week.  So we are now gladly sourcing recipes with eggs!

This potato gallette is a really easy weeknight meal.  It’s savory with a hint of herbs from the garden.  Our egg yolks are so absolutely vibrantly orange (like the old fashioned red orange crayola color) it’s abundantly clear they are packed with choline, folate, vitamin A, vitamin E, tons of beta-carotene and plenty of omega-3 fats from the flax we feed them and the free range forage they enjoy.  If your interested in how the life and diet of a hen reflect in the nutrient content of her eggs, check out these results from Mother Earth News.

IMG_3811

Now onto the potato galette!  I strongly recommend using a well seasoned cast iron pan if you have one.  I find them non-stick far better than others, and the heat is so nice and even that it really crisps up the galette.


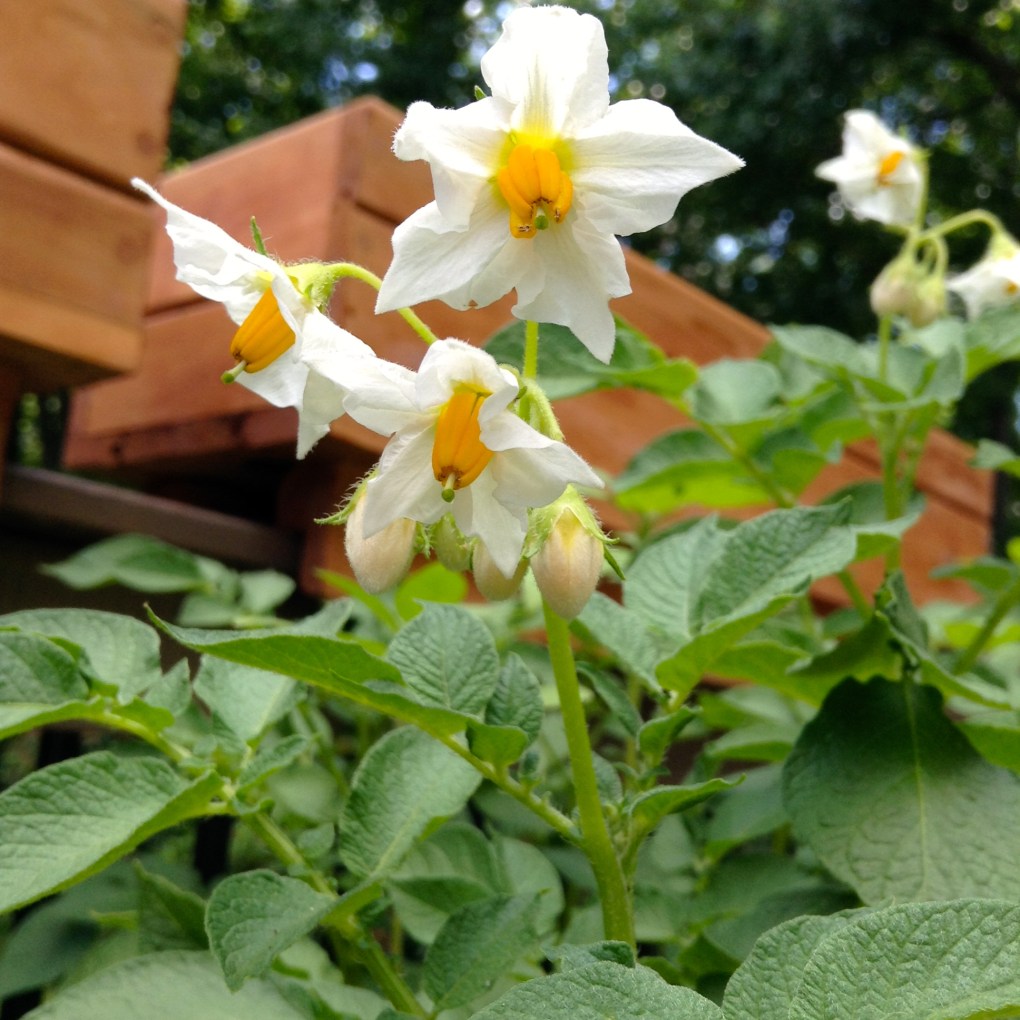
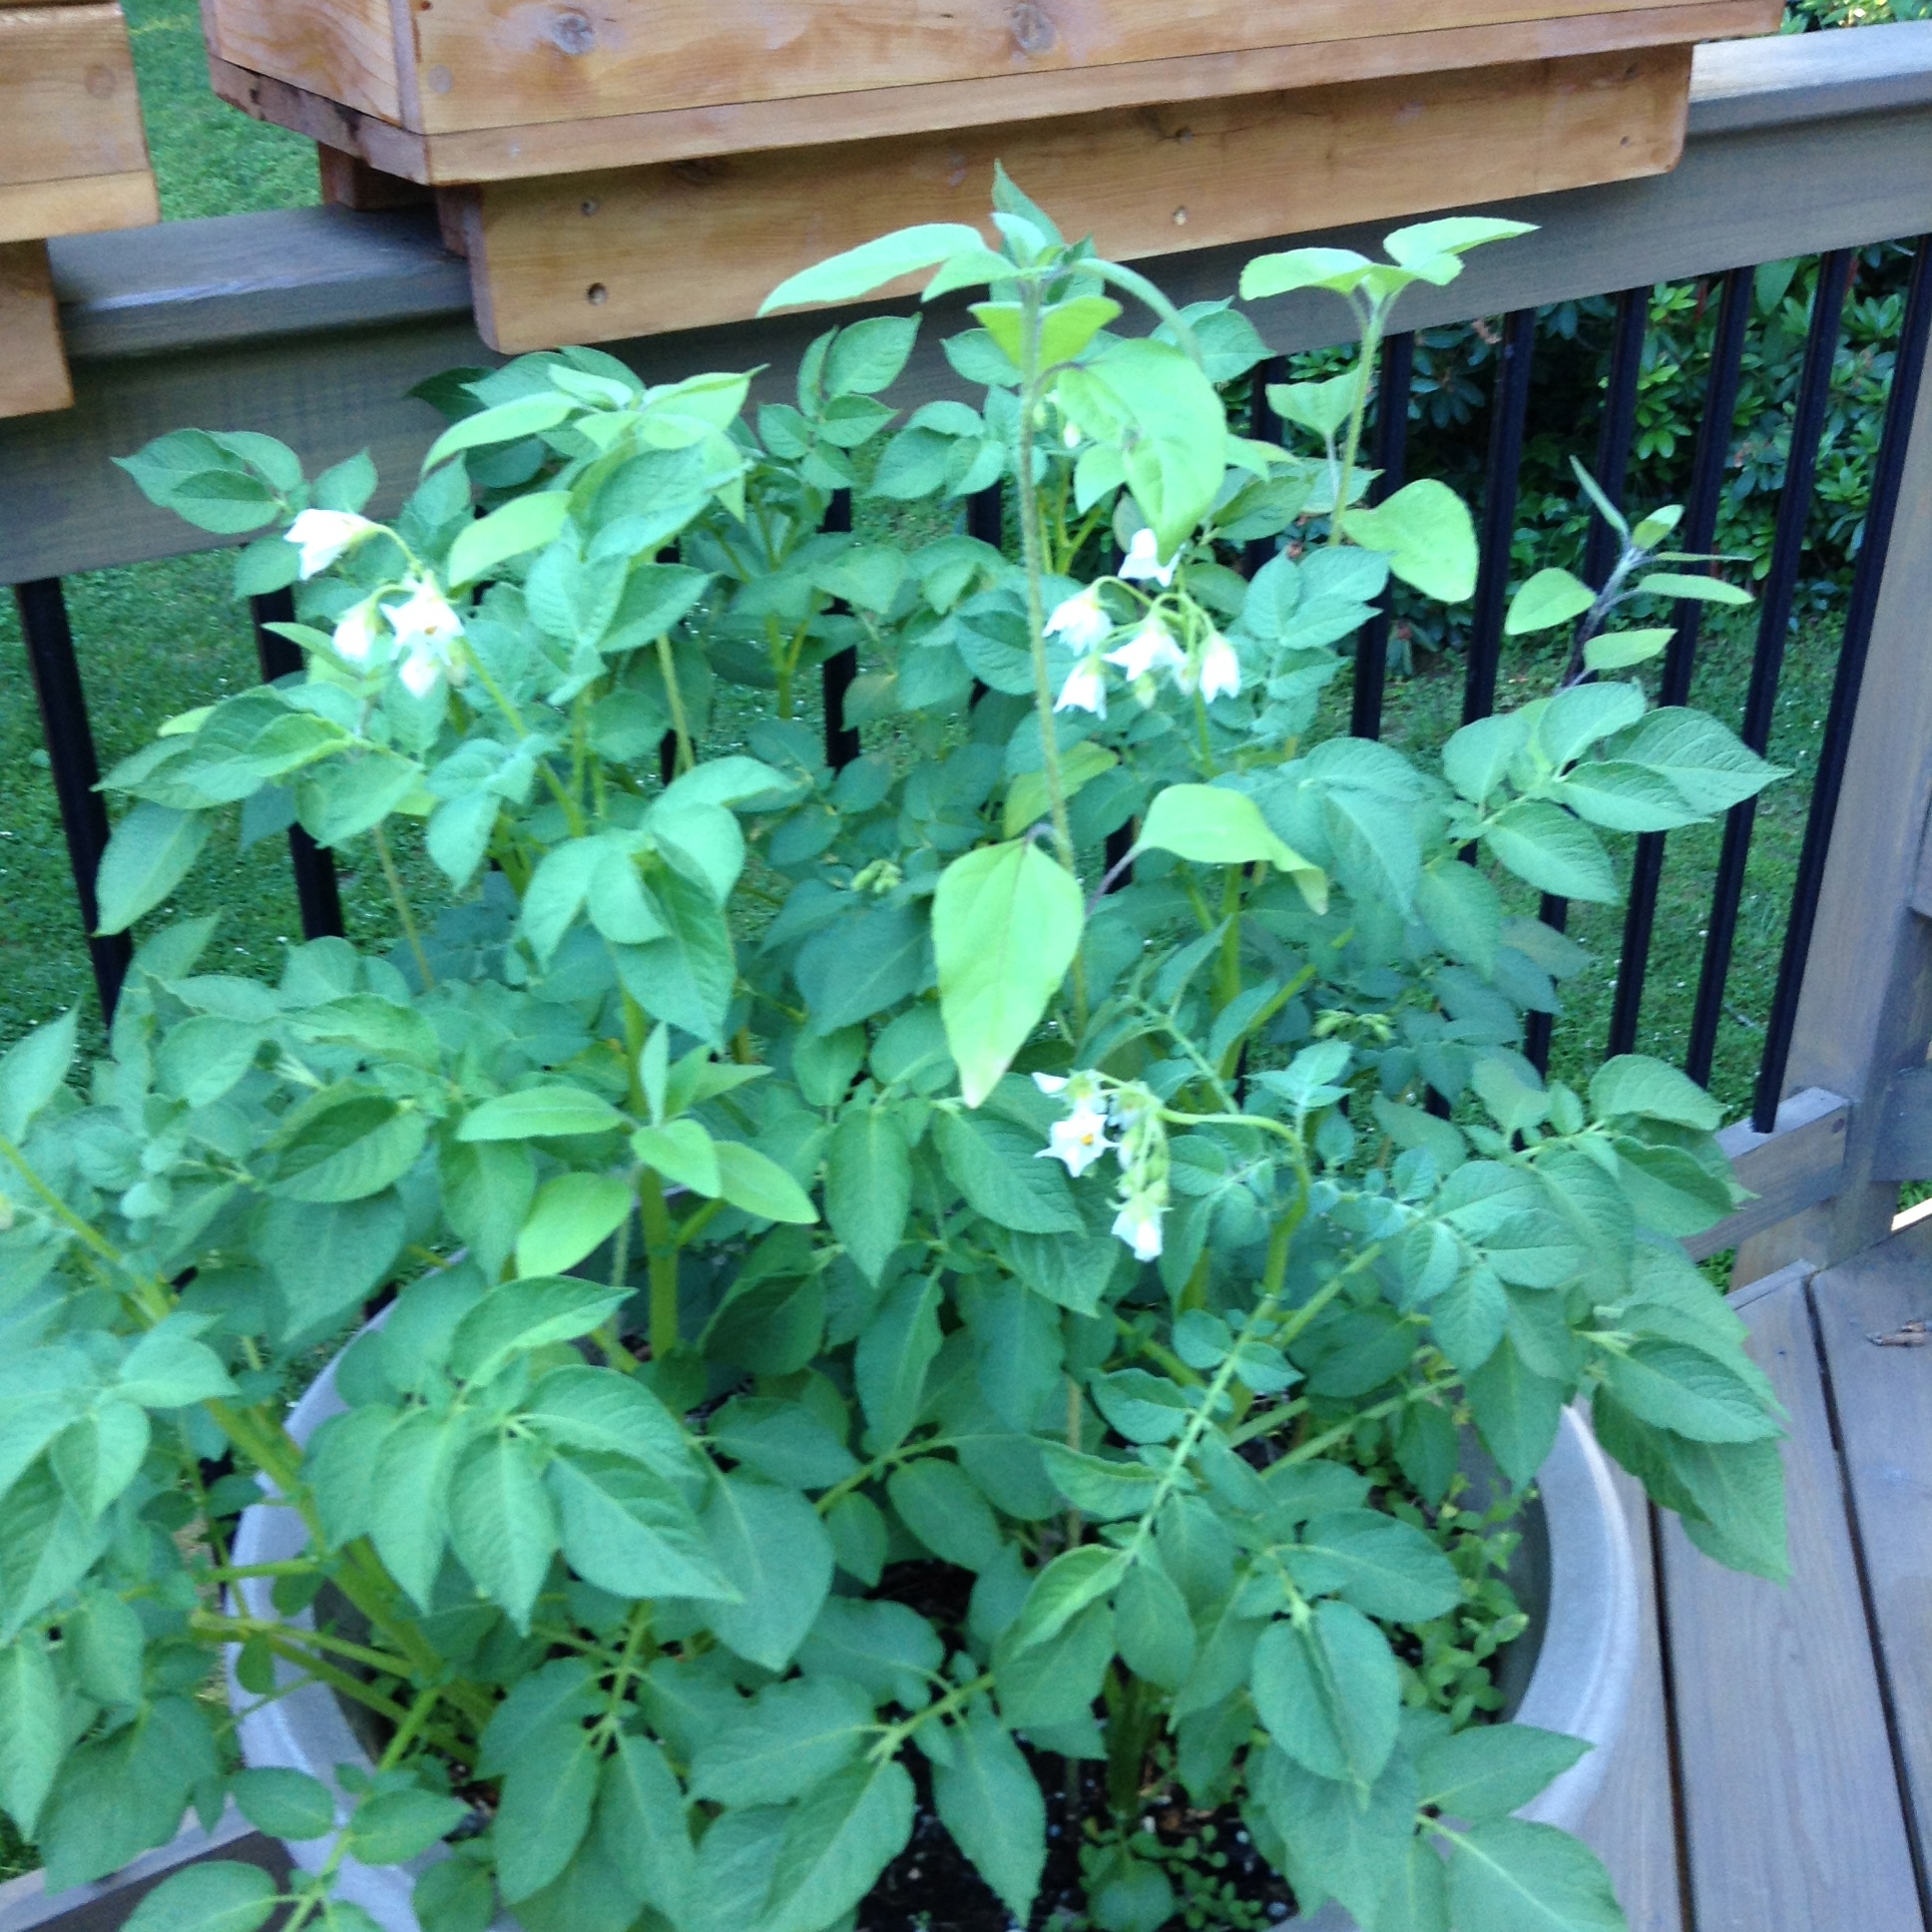
Before we begin, a note on the potatoes.  If you are using fresh potatoes, that have not hint of green on them (like right under the peel) then do not peel the potatoes… lots of good nutrition there.  If however, your potatoes where not stored well and they have that green you can either peel the parts with the green or peel the entire potato.  My grandmother, who grew up in Germany during a time of root cellars, world wars and no refrigeration always told me that the green on the potatoes is poisonous.   You can read more about it here in this short article in the New York times.  Storing potatoes properly is very important.  They will begin to sprout depending on light and temperature.  GrowAGoodLife has a great article on potato storage.

Ingredients:

  • Olive oil – enough to coat the potatoes and cover the bottom of the cast iron pan
  • 1-2 pounds potatoes, new or yukon gold
  • 2 teaspoons celtic sea salt or other natural salt
  • 1-1/2 cups onions : I prefer vidalia or some other sweet onion, but your basic yellow onion is just absolutely fine
  • 1 tablespoon fresh oregano, thyme or basil or some combination of fresh herbs
  • 5 medium cloves of garlic, peeled and minced
  • 6 large pastured eggs or 8 small pastured eggs (we have all sizes here!)
  • fresh ground black pepper

Preparation

Using a mandolin, slice potatoes about 1/8 of an inch.  Place in a very large bowl, sprinkle with salt, pepper and about three tablespoons of olive oil.  This coats them so they will not stick on pan.

Drizzle olive oil to cover the bottom of  a large cast iron skillet over medium heat.  Place potatoes in pan and cook them in batches.  You should not hear a searing sizzle, we are just par-cooking them.  They should not be turning color, and should not be soft so that they break when you remove them.  After each batch place potatoes in another large bowl.

While these are cooking, you want to crack your eggs and beat them in a small bowl.  Add herbs and a little more salt.

Once all potatoes are done, add the onions and garlic to the pan.  Saute till softened and fragrant, but not browned.  Rinse the skillet.  Add egg mixture to potatoes and toss well to coat.

Coat bottom of skillet with oil again and place over medium high heat.  Add in potato mixture.  Do NOT stir or move the mixture.

Let it cook for about ten to fifteen minutes.  The sides will start to pull away from the pan.  Again we are not going for a high heat because we want them to cook evenly and thoroughly – as well as get a nice brown on the potatoes.

Okay, now for the fancy flip.

After about ten minutes you can start to tease the side of the galette away from the pan, if it is not starting to do so.    At this point you will want to get a plate so you can flip the galette.  The plate needs to be bigger than your pan.

Take the skillet off of the burner. Carefully, place the plate a top of the skillet.  With your hand on top of the plate turn the skillet upside down so that the potato galette falls out of the skillet and onto the plate.  Now you can slide the galette back into the skillet to brown on the other side.

Let this cook another five to ten minutes until browned.   Remove from skillet and place on serving dish.  Garnish with more fresh herbs if desired.

Serve and enjoy.  This makes a great leftover meal as the flavors continue to melt together as time goes on!

IMG_3820


simplest tomato salad

image


Our first and most important spiritual task is to claim God’s unconditional love for ourselves. To remember who we truly are in the memory of God. Whether we feel it or not, whether we comprehend it or not, we can have spiritual knowledge in the heart— a deep assurance that passes understanding— that we are God’s beloved.

Henri Nouwen

It’s the ripe, plump tomatoes which blanket the farmer’s markets and neighbors gardens that make this simplest tomato salad so delectable.  No need to fancy it up – the salt really brings out the savory sweet juicy flavors of the tomatoes.   It’s a family favorite during the summer.

Ingredients

  • 5-6 ripe in season tomatoes
  • 3 tablespoons olive oil
  • 1/3 cup finely chopped red onion
  • salt and pepper to taste

Mix all ingredients and serve.  Dinner can be that simple…


crunchy bean salad

IMG_3579

“Water falls from heaven as rain, and while it is always the same in itself, it produces many different effects, one in the palm tree, another in the vine, and so on, throughout the whole of creation. It does not descend, now as one thing, now as another, but while remaining essentially the same, it adapts to the needs of every creature that receives it. In the same way the Holy Spirit, whose nature is always the same, simple and indivisible, apportions grace to each person as He wills. Like a dry tree which puts forth shoots when watered, the soul brings forth the fruit of holiness when repentance makes it worthy of receiving the Holy Spirit. Although the Spirit never changes, the effects of His action, by the will of God and in the name of Christ, are both many and marvelous.”  Saint Cyril of Jerusalem

It’s “bean” a while since writing on the blog.  This past year beckoned reprioritizing – faith, family, homeschool and also really to focus on completing my Master’s Degree.  No, I am not done, but almost!  Yay!

We’ve also been battling Lyme disease in this home and I tell you, it is formidable – and affects everyone different!  Lord have mercy.  It really turned our lives upside down.  However, all signs are that my loved one is almost done with treatment and that is a tremendous blessing.

In many ways, the year of Lyme Disease has been a blessing too… just in it’s very own way.

That aside, it’s also “bean” a long time since I have made a bean salad, but since the farmer’s market this week was so plentiful with green beans – I brought home a whole bunch!

This salad is a riff on that old picnic favorite the “three bean salad”.  What I like so much about this is that the beans are green and crunchy, unlike the one I remember from my youth with watery faded green canned beans.   You could easily make this with wax beans or a combination of string beans too.


Crunch Green Bean Salad

Ingredients:

  • 3/4 pound of beans – washed and trimmed
  • 1/4 cup rice wine vinegar
  • 1/3 cup finely sliced red onion
  • 1 Tbspn extra virgin olive oil (currently we are using a local favorite, Spartan’s for our salads – it is very tasty and comes in a cute reusable ceramic bottle.  Refills come in a convenient pouch)
  • 1/4 cup chopped fresh basil
  • 1/4 cup toasted pine nuts or pecans
  • 1 finely chopped red pepper
  • Salt and pepper to taste


For the preparation, bring a pot of water to a boil and add the trimmed and cut green beans.  You only need to cook them for 3-5 minutes or less.  Test them to make sure they are still crunchy and retain that bright green color.  Once done, immediately place them into a bowl of cold water.  This will stop the cooking process.

Drain the beans in a collander and put them into your salad bowl.  Add all remaining ingredients and toss well.  Salt and pepper to taste.

You can make this the day before, the flavors just get better and better over night!  Great for a picnic and for any summertime meal!

IMG_3578


contain yourselves

“Odd as I am sure it will appear to some, I can think of no better form of personal involvement in the cure of the environment than that of gardening. A person who is growing a garden, if he is growing it organically, is improving a piece of the world.”  Wendell Barry – The Art of the Commonplace: The Agrarian Essays


Even if you have only a tiny patio or balcony, growing your own food is a possibility.  No matter how little space you have, with a packet of seeds, a few pots or other container of your choice, you can turn a blank space into an edible landscape.  Whether you grow an assortment of kitchen herbs or potted potatoes, carrots and beans it’s easy and can transform an urban space into a haven and retreat.

A few weekends ago, we picked up some cedar planters at our local plant store DePaul’s Urban Farm and then the kids got to work staining them and planting some carrots.

This slideshow requires JavaScript.

Soon we will have an awesome harvest of carrots.

Also too we have potted potatoes – so much easier to harvest because they are confined to one space than planting in a larger garden.  For something a little different we added sunflowers into the mix – for a little flowery effect.  They will bloom soon!

Whatever you chose, the main thing is to have fun with your planting and make a space which is visually and edibly pleasing.

At the end of the day, nothing compares to your own fresh grown food.  Just as wonderful is that you really don’t need a lot of expertise or skill to grow them – especially beans, tomatoes, peas and any salad vegetable.

IMG_0286

The past ten years have seen a rapid increase and high demand for real local sustainable food.  Not a new idea, just one misplaced for about a century!… previously all food was local, mostly because there was not the ability to transport it, or the chemical fertilizers to mass-produce it.

Family gardeners restore and heal their little part of the world starting with their own space and being.  Working the dirt, it is inevitable that knowledge, experience and success from those lessons unearthed in the garden tills into other areas of our lives ~ gratitude and thanksgiving for the harvest, family and friends!

“In almost every garden, the land is made better and so is the gardener”. ~Robert Rodale


summer salsa

This time of year is all about preserving the freshness and bounty of the season… and that usually requires me to act fast, you know what I mean?  There comes a week, during the peak harvest, when the farmer’s market surplus of tomatoes reduces their cost  to $15 dollars for a 30 pound box – at least around here!  Tomatoes for 50 cents a pound!  It’s an irresistible sight I both long for and dread.  With so many tomatoes, one needs to act quickly or they will go bad – let them sit even overnight and you are guaranteed to loose a few to the compost.

So the season of harvest has me re-thinking our methods of preserving.  As a mom and student of holistic nutrition, I want foods teaming with life and nourishment for my very vibrant family.  A few years ago I learned about a different method of preservation… fermentation.

Unfamiliar with fermenation?

The art of fermentation is as old as humanity, but one that has largely disappeared from our western diets.  Fermentation is fairly simple because it preserves without the use of hot water baths and pressure cookers.  Conventional canning methods kill all bacteria; whereas fermentation is actually a cooperation with the bacteria (germs!) that are naturally available on the environment of the produce.  In fermentation, the naturally present bacteria feed on the sugar and starch in the food which creates lactic acid and that preserves the food, while also creating beneficial enzymes, b-vitamins, short-chain fatty acids, and various strains of probiotics.

Fermentation not only preserves produce, but also transforms ingredients into a more digestible state and creates more nutrition than it’s original vitamin content.

These foods nourish us deeply because through fermentation, nutrients become more absorbable – pregested like the lactase in yogurt which has been broken down and is why those with lactose intolerance may be able to handle yogurt or aged cheeses.
Ferments are laden with probiotics -which have numerous health benefits.   Historically, people would get a large portion of the healthy bacteria necessary for their digestive systems in the form of fermented foods.  Studies show that these good bacteria- probiotics are integral and critical to good health.  Our modern food industry, instead, has left us as a generation that turns to supplements to re-innoculate our digestive tract.  Yet with a traditional ferment, each morsel of can provide trillion of beneficial bacteria- far more that you can get from a probiotics supplements. (Mercola)  That’s pretty amazing!

Through the fermentation process, many foods accumulate increased levels of B vitamins, including thiamin (B1), riboflavin (B2) and niacin (B3) as compared with the nutrition of the raw ingredients prior to fermentation.

In a nourishing sense, fermentation is a virtue!

The finished product – through the slowness of time and the inner-working of a microbial community becomes greater than it’s original constituent ingredients.  And,  it lasts!  It’s true to say that ferments and the art of nourishment requires patience and time and nurturing.

In our day, that is a choice, one that more and more of us gladly make – for the very word nourish means to feed or cherish, to preserve, look after or suckle.  In that sense, nourishment means relationship… one involving care and love.

Fermented products can be an acquired taste, but some well known examples of fermentation include sauerkraut, kimchee and brined pickles.
Ready to give ferments a try?  A great introduction to fermented foods is a fermented salsa that a friend shared with us.  It is delicious and a family favorite – even with the kids!  For a small batch, you’ll need:

OLYMPUS DIGITAL CAMERA

3 lbs of fresh tomatoes – chopped – do not discard the juice
1 bunch of cilantro or basil (our cilantro has died out, so we are using fresh basil)
1 small onion (about 3/4-1 cup)
3 tablespoons sea salt
1 head garlic – peeled and chopped finely
Optional – 1 jalapeño chopped – with or without seeds depending on your tastes
1 lime – I try to use only local ingredients in my ferments – so I usually skip this
2-3 clean mason jars
Clean bowl and spoon.
All your utensils, cutting boards and bowls should be clean.  It is not necessary to sterilize them.

Rinse tomatoes and wash your hands.

Chop ingredients to the salsa consistency you prefer.  It is not necessary to discard the juice as this becomes our brining liquid.  Mix all ingredients well in bowl.

Spoon into jars and either with a wooden spoon or your clean hands press the salsa below the liquid.
Seal tight and leave out of direct sunlight on the kitchen counter for 3-5 days.

Open the jars periodically as this will release some of the gases and also make sure to continue pressing your salsa below the brine line if necessary.  Frequent tasting – once the ferment has reached the taste consistency you love, enjoy some and then move it to the refridgerator.  The cooler temperature there slows down the fermentation process.


A taste of this salsa in winter will unleash the vibrant delicious flavors of summer!  It can be enjoyed with your favorite organic chips, with scrambled eggs, on a taco or anywhere that you normally would enjoy it.  One word of caution that I offer… if this is your very first ferment or your diet is generally spartan of probiotic rich foods, please start out with just a tablespoon per day for about a week to build up your internal probiotic community slowly.

Fermentation is making a niche comeback and one that has been recognized by culinary mega-giants like Williams Sonoma which now sells vessels for fermenting.  This is great news!