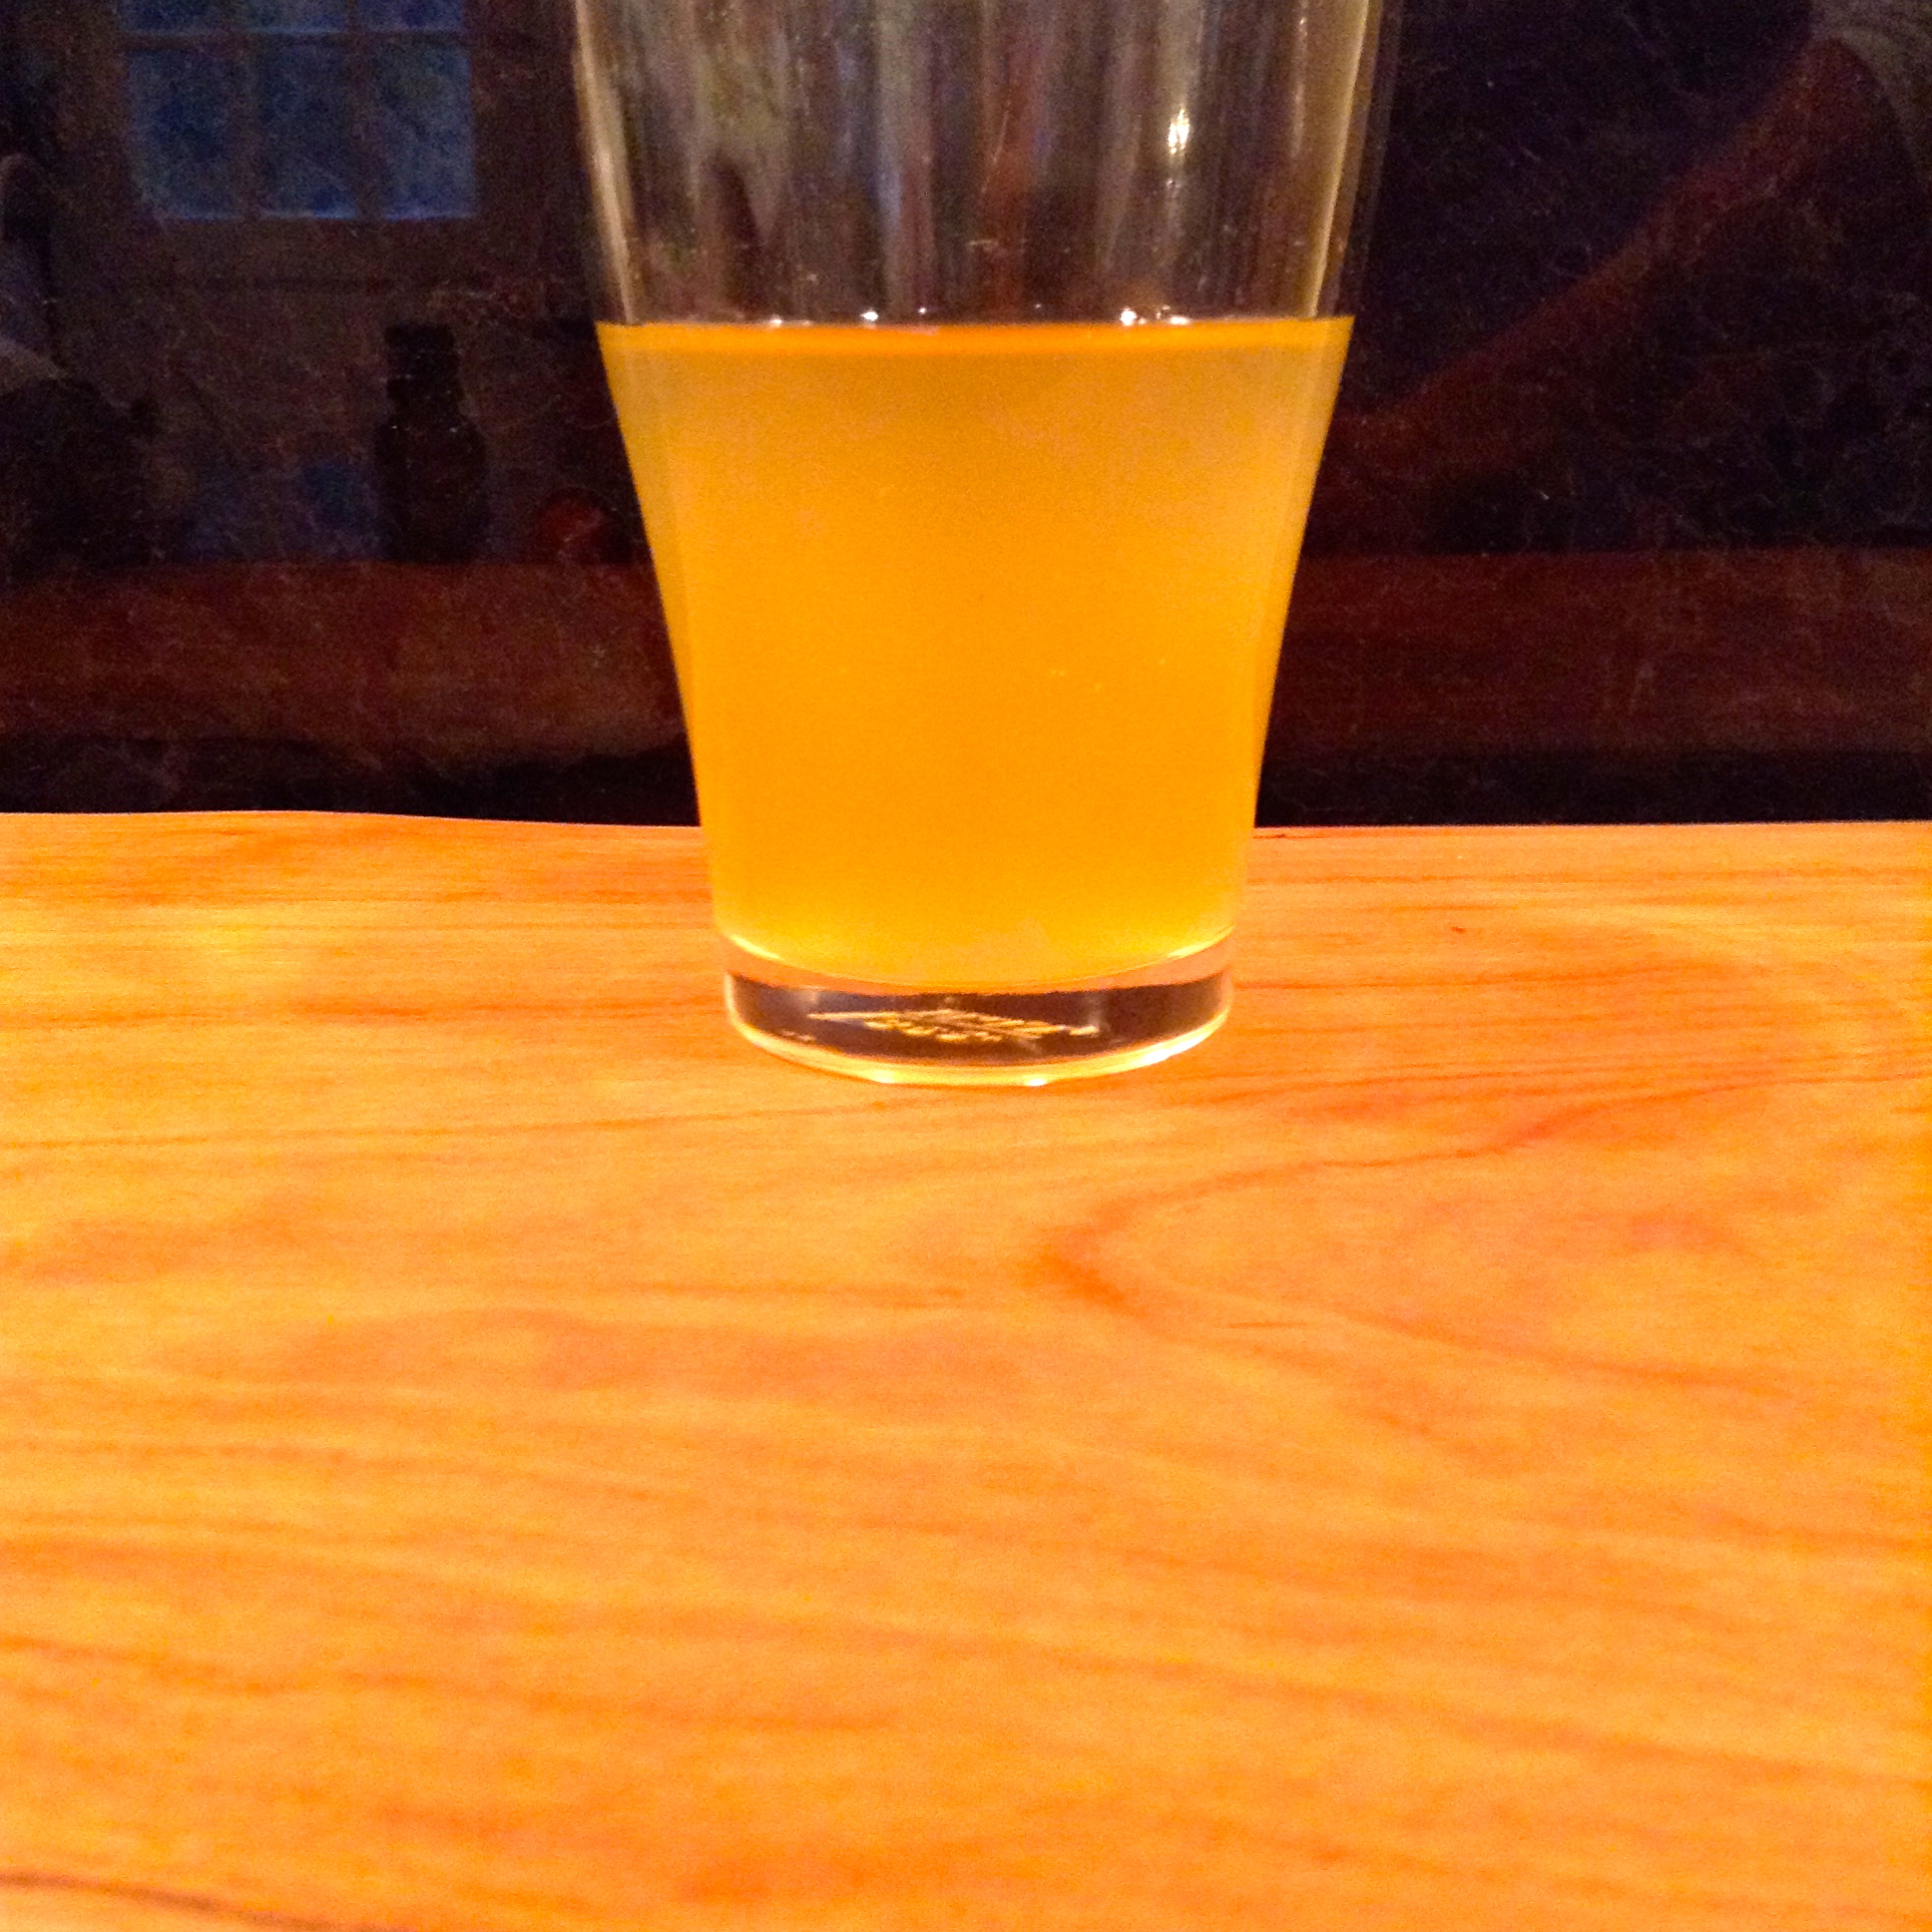
fresh glass of kombucha
Kombucha has been brewed for thousands of years. The first record of the mushroom tea dates back to 200 BC in China. Over time and through the trade routes, kombucha eventually made it’s way to Russia and even to Europe.
The fermentation of the tea comes about by the interaction of the Mother or SCOBY (that’s a symbiotic colony of bacteria and yeasts) which feeds on the sugars, producing many beneficial by-products. During the fermentation process, the SCOBY floats on top of the sweet tea. When the brewing is complete, you will have a delicious drink that is full of enzymes, antioxidants, vitamin B, probiotics, acetic acid and lactic acid. The combination of these components help strengthen the body by helping keep intestinal flora balances, strengthening the immune system and protecting cells.
In the 1960’s studies in Switzerland confirmed that kombucha contains many antimicrobial immunity boosting and anti-bacterial properties.
[box]
Benefits of Kombucha
Alkalization of the body
Detoxification of the liver
Introduction of probiotics
Improved digestion
Antioxidant properites
[/box]
Scientists noticed kombucha again in the 1980’s after the Chernobyl nuclear plant meltdown in Russia. While many people suffered the debilitating effects of radiation poisoning, doctors observed that a specific group of people were not suffering “as bad” as the others had been. These were mostly elderly women and it was concluded that they had been drinking kombucha daily for many many years. This finding only added to the opinion that kombucha was a healthy drink, which added strength to the body and more resilient to toxins and pollutants.
One thing is certain – kombucha is not your average soft-drink.
For my family, I am simply a fan of anything that is simple, easy and has stood the test of time. The fact of the matter is, the scientific method was not employed in 200BC to determine which strains of yeast and bacteria were present the the SCOBY or the kombucha – but people knew it was beneficial for them.
We brew our own for economic reasons… it’s a lot more affordable to brew your own if you drink it daily.
With that, here is a great recipe to begin your own kombucha brewing. We use large mason jars for ours but there are even some extraordinarily beautiful kombucha crocks that bring a little art and beauty to the whole process.

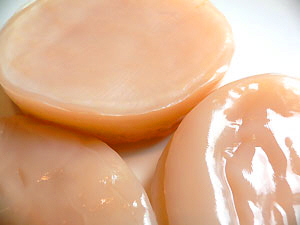
Symbiotic Colony of Bacteria and Yeast – SCOBY
[box]
Basic Kombucha Recipe
6 teabags OR 4 to 6 teaspoons organic loose black tea (such as caffeinated oolong, green, or a combination)
3-1/2 quarts filtered water
1 cup raw honey, sucanat, muscavado or raw cane sugar
8 ounces finished plain kombucha from a previous batch to jump-start this batch (optional)
1 SCOBY
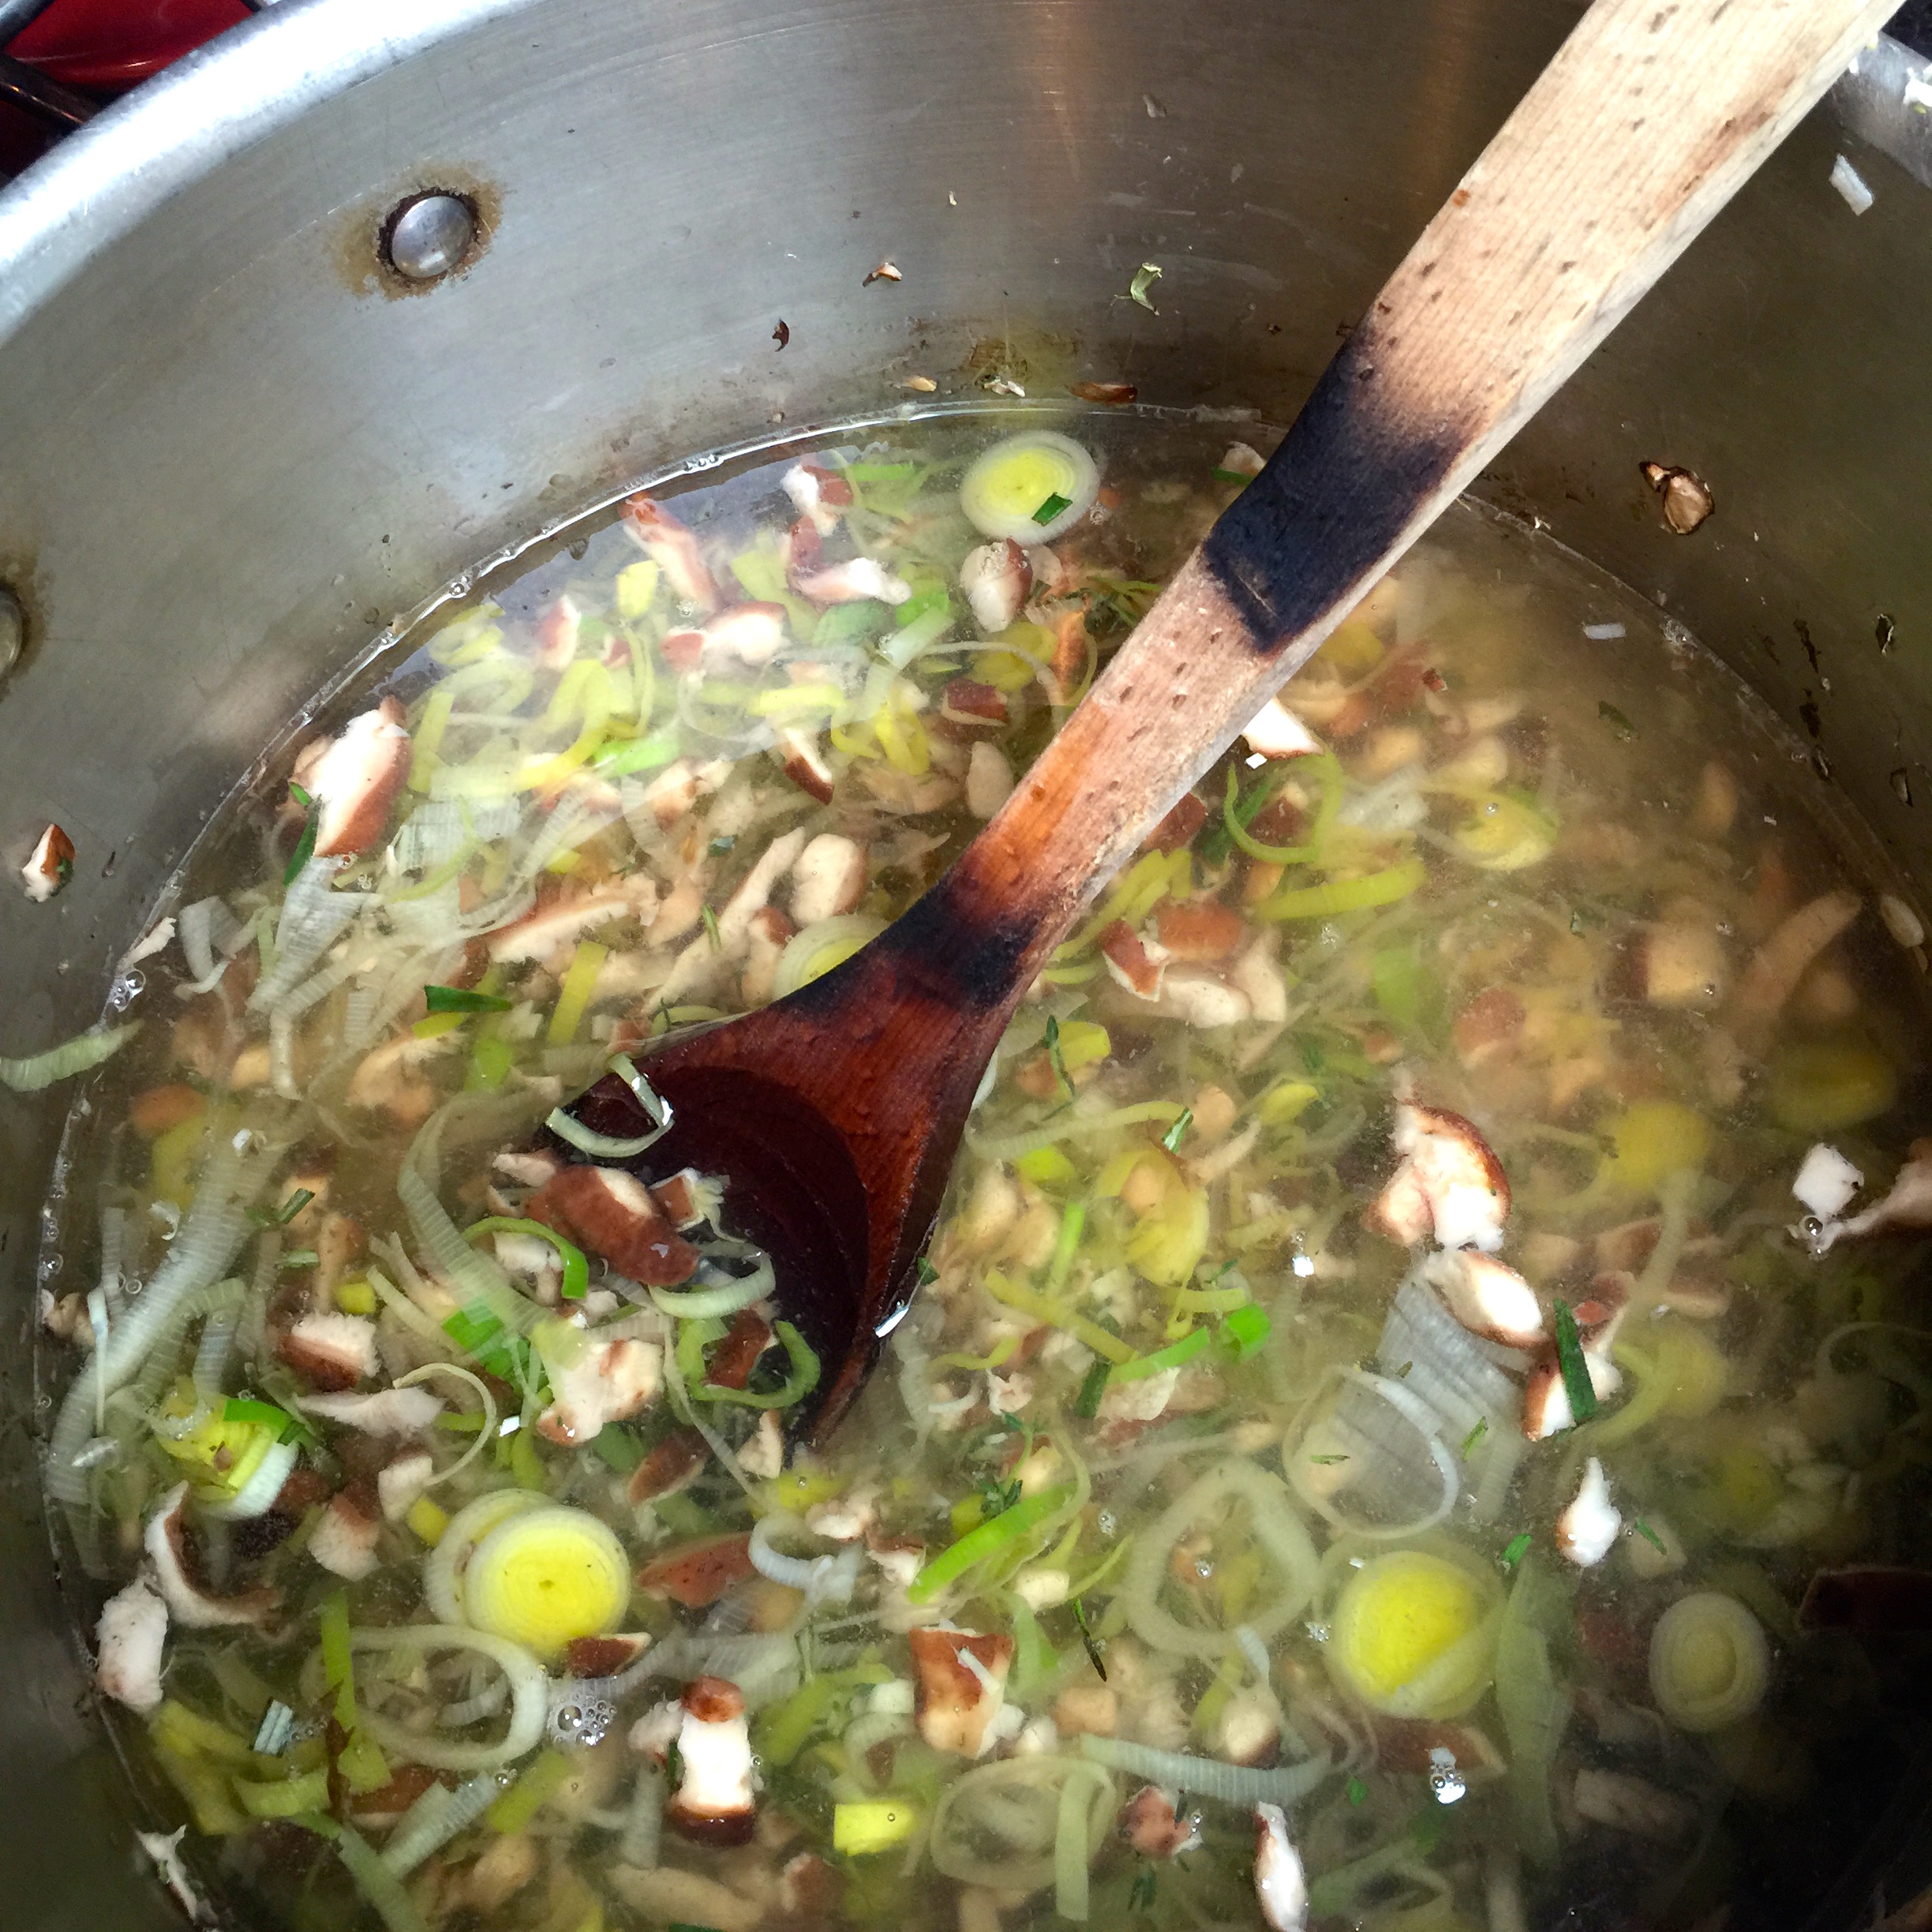
1. Place the loose tea in a muslin tea bag or place tea bags in sauce pan. Add water bring to a boil over medium heat. Take off the heat and steep for 30 minutes. Add the honey or raw sugar. Remove the tea bag and squeeze out any tea. Cool to 98 ° F. Add the finished plain kombucha, if using.
2. Place contents in clean brewing container with SCOBY. Cover container with cheesecloth and secure with a rubber band. Store in a warm dark location.
3. After 5 days, give the kombucha a taste. If you desire a more sour flavor keep tasting every day until it reaches the desired flavor.
4. At this point you will want to brew more sweet tea.
5. Remove all than about 8-10 ounces of kombucha.
6. Begin the process again.
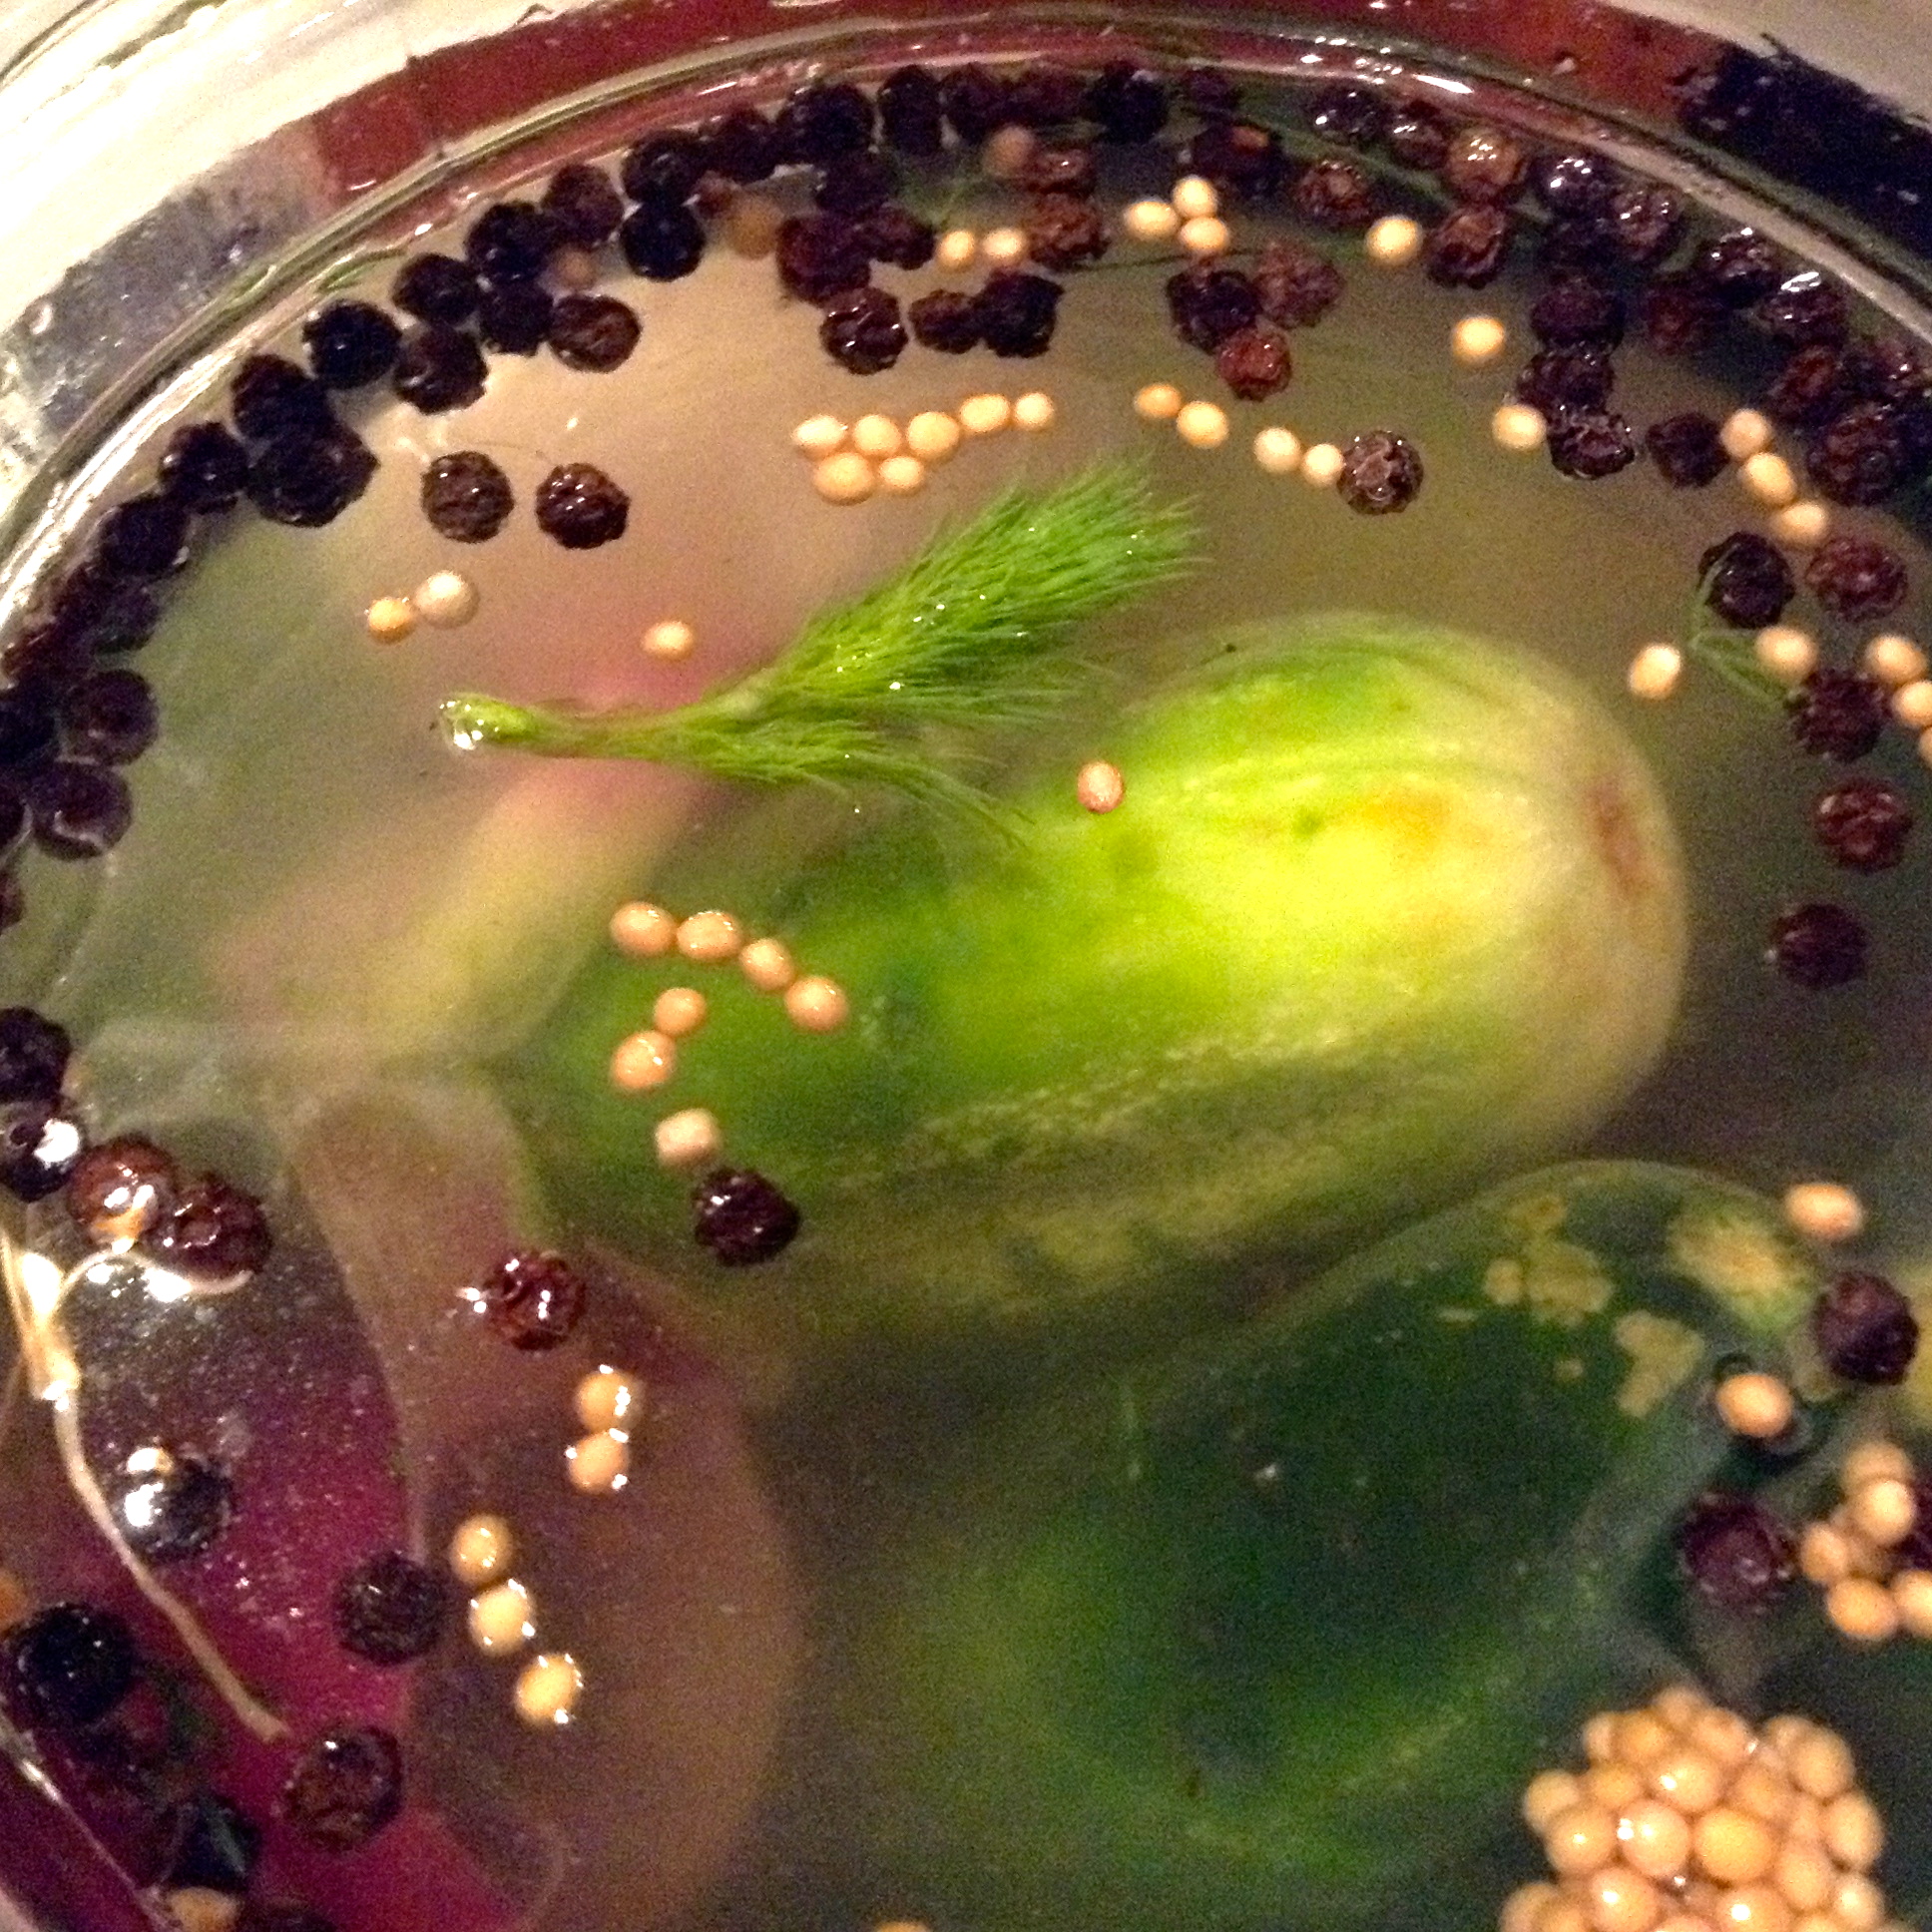
7. You can now add flavorings to your kombucha for an additional fizzy ferment, or enjoy it as is!
[/box]
The best way to get started brewing your own kombucha is either to get a SCOBY from a friend (they get thicker and thicker with each ferment, so it is very easy to peel some off and share with a friend!) Alternatively, if you are the pioneer among your friends, then fear not – there are kits available to get you started on your way!
Kombucha brewing supplies
Lion Heart Kombucha
Kombucha Kamp
Beautiful Kombucha and Fermenting Crocks
Additional Reading:
Edwards, Allison Kombucha: Drink this Wonderful Probiotic Tea for Immune Support, Digestive Health, and Detox Cleansing
http://www.kombuchakamp.com/2011/03/kombucha-tea-radiation-prevention-and-cancer-treatments.html