taco soup

Joyful thanksgiving, so far from being escapist or sentimental, is on the contrary entirely realistic—but with the realism of one who sees the world in God, as the divine creation.

Metropolitan Kallistos Ware | The Orthodox Way

Christ is Risen !!

My girls call this chili soup! So easy to make you almost don’t need a recipe. Leave a comment and let me know how you like it!!

Read More

Tsoureki French Toast {the many uses of tsoureki}

If one can live in the world and yet not mix with it – just as the oil and water do not mix in the oil-lamp – then he can live in God. He is in this world but not of this world.

Mother Gavrilia

Christ is Risen!! Truly He is Risen!!

Each year we bake enough Tsoureki (Greek Easter Bread) for our feast and friends. We also always try to have enough leftover to enjoy in the coming weeks. In my next few posts I will share some of the ways we love to enjoy it! If you have never made Greek Easter Bread you can find the recipe here and a video tutorial here.

Over the years I have found many fun ways to eat our leftover loaves. This week and next I will share them with you! Today we had Tsoureki French Toast for breakfast! It’s super versatile and that citrus flavor stands up to cooking, nicely. I hope you Enjoy!!

Read More

Preparing our Pascha Table {baking Greek Easter bread video }

Love, my child hospitality, because it opens the gates of paradise. Being hospitable you can be rewarded with receiving angels. Hospitality is the greatest virtue.

Elder Amphilochius of Patmos

Having received many questions about baking Greek Easter bread from my IG post – I put together a little video while we were baking yesterday. I hope you find it helpful.

The recipe I use can be found here

A couple of hacks from over two decades of baking the Tsoureki

Read More

Koulourakia {our Pasha table}

Grace is the foundation of forgiveness. We pray for forgiveness to enter our heart. We beg for forgiveness to enter our heart. We importune God for forgiveness to enter our heart.

Father Stephen Freemen : Glory to God for All Things

Preparing for Pascha – there is spiritual preparation, our fasting, almsgiving and prayer and there is physical preparation : cooking for family & friends. Prepping ahead of time saves me from exhaustion and becoming too much of Martha and not enough Mary during Holy Week. Over the years, I’ve learned to plan ahead. Anything that can be made and frozen we make the week before Holy Week.

Read More


sweet bread of basil

IMG_9906

Everyone as he is able, should try to heal (with kindness) anyone who has something against him.

Saint Basil the Great

The Fathers Speak (p. 55)

It is a cherished tradition bearing the leaven of hope toward the coming year and the further redemption of our time here, in Christ, that Orthodox Christians bake this sweet bread of orange and lemon to ring in the new year.

The bread is called vasilopita which means the sweet bread of basil.  It’s namesake is a humble holy bishop Saint Basil the Great whose heart compelled him during a time of famine  to help the poor.  It was a time of merciless and unfair taxation.   The Bishop confronted the emperor who had levied the tax, calling him to repentance for the harsh burden he placed upon the people.

Amazingly, the emperor did repent and he returned the gold and jewelry that had been taken from the townspeople.  Basil and the villagers offered thanksgiving prayers after which the Holy Bishop  commissioned women to bake and place the gold coins into a sweet bread which were then distributed.  Miraculously each family found in their bread, their own valuables which had been collected as part of the taxation.

Today, the vasilopita is baked in memory of that miracle forged by God and Saint Basil’s faith, love and shepherding of his people.  Each year on January 1st– the date on which St. Basil reposed in the Lord , Orthodox Christians observe the tradition of the Vasilopita.   The recipient of the coin is considered especially blessed.

This is the first year our family has ever made the vasilopita.  There are many regional variations to the bread, yet a taster will find that all of the recipes are sweet and authentic!

This particular recipe is adapted from my “go to” Greek Cookbook by Aglaia Kremezi The Foods of the Greek Islands.  She gives a rich history of her recipes and I appreciate her anecdote that butter and eggs were luxuries in Greece during times past.   What I love about the old way of Greek cooking is that by using the brandy the texture of the flour totally changes into a nice bread texture.  There is no yeast in this bread, instead the brandy adds to the leaven quality of the dough.

Vassilopita

Ingredients

  • 4 large eggs, separated
  • 1 cup sugar
  • 12 tablespoons melted butter (1-1/2 sticks)
  • 1-1/2 cups orange juice
  • 1/2 cup brandy
  • 4 cups all purpose flour
  • 4 teaspoons baking powder
  • 1/4 teaspoons baking soda
  • grated zest of two oranges and two lemons
  • whole blanched almonds and /or powdered sugar to decorate

Recipe

Preheat oven to 375F.

Grease a 10 – 12 inch springform pan

In a large bowl beat egg yolks, zest and  sugar (this releases the essential oils from the zest) for about three minutes.

Add butter and beat for an additional minute

Add orange juice and brandy, beat until it is incorporated.

Whisk the flour, baking powder and baking soda in a separate bowl.  This makes sure that you will not have any clumps of the baking powder and baking soda but that it will be totally distributed.

Add to the liquid  mixture and stir until incorporated.

In separate bowl (I actually use a mason jar with a hand held electric stick mixer so that it does not splatter everywhere) whip the egg whites until soft peaks form.

Fold the egg whites into the batter.  Pour batter into the greased springform pan.

Place clean coin (my daughter found a euro coin for one and a dime for another)

Bake for 45 minutes to an hour until gold brown.

Decorate with almonds and/ or powdered sugar.

IMG_9904
IMG_9907

May we all be especially blessed in the coming New Year!


potato galette

IMG_3821

He became man and lived in this world. He ate and drank, and this means that the world of which he partook, the very food of our world became His body, His life. But His life was totally, absolutely eucharistic—all of it was transformed into communion with God and all of it ascended into heaven. And now He shares this glorified life with us. “What I have done alone—I give it now to you: take, eat.…”

~

Alexander Schmemann

If one intends to raise chickens, it’s a great thing to love eggs!  This spring our family acquired eight hens and as of now, we harvest six eggs a day, on average.  That’s 42 eggs a week.  So we are now gladly sourcing recipes with eggs!

This potato gallette is a really easy weeknight meal.  It’s savory with a hint of herbs from the garden.  Our egg yolks are so absolutely vibrantly orange (like the old fashioned red orange crayola color) it’s abundantly clear they are packed with choline, folate, vitamin A, vitamin E, tons of beta-carotene and plenty of omega-3 fats from the flax we feed them and the free range forage they enjoy.  If your interested in how the life and diet of a hen reflect in the nutrient content of her eggs, check out these results from Mother Earth News.

IMG_3811

Now onto the potato galette!  I strongly recommend using a well seasoned cast iron pan if you have one.  I find them non-stick far better than others, and the heat is so nice and even that it really crisps up the galette.


Before we begin, a note on the potatoes.  If you are using fresh potatoes, that have not hint of green on them (like right under the peel) then do not peel the potatoes… lots of good nutrition there.  If however, your potatoes where not stored well and they have that green you can either peel the parts with the green or peel the entire potato.  My grandmother, who grew up in Germany during a time of root cellars, world wars and no refrigeration always told me that the green on the potatoes is poisonous.   You can read more about it here in this short article in the New York times.  Storing potatoes properly is very important.  They will begin to sprout depending on light and temperature.  GrowAGoodLife has a great article on potato storage.

Ingredients:

  • Olive oil – enough to coat the potatoes and cover the bottom of the cast iron pan
  • 1-2 pounds potatoes, new or yukon gold
  • 2 teaspoons celtic sea salt or other natural salt
  • 1-1/2 cups onions : I prefer vidalia or some other sweet onion, but your basic yellow onion is just absolutely fine
  • 1 tablespoon fresh oregano, thyme or basil or some combination of fresh herbs
  • 5 medium cloves of garlic, peeled and minced
  • 6 large pastured eggs or 8 small pastured eggs (we have all sizes here!)
  • fresh ground black pepper

Preparation

Using a mandolin, slice potatoes about 1/8 of an inch.  Place in a very large bowl, sprinkle with salt, pepper and about three tablespoons of olive oil.  This coats them so they will not stick on pan.

Drizzle olive oil to cover the bottom of  a large cast iron skillet over medium heat.  Place potatoes in pan and cook them in batches.  You should not hear a searing sizzle, we are just par-cooking them.  They should not be turning color, and should not be soft so that they break when you remove them.  After each batch place potatoes in another large bowl.

While these are cooking, you want to crack your eggs and beat them in a small bowl.  Add herbs and a little more salt.

Once all potatoes are done, add the onions and garlic to the pan.  Saute till softened and fragrant, but not browned.  Rinse the skillet.  Add egg mixture to potatoes and toss well to coat.

Coat bottom of skillet with oil again and place over medium high heat.  Add in potato mixture.  Do NOT stir or move the mixture.

Let it cook for about ten to fifteen minutes.  The sides will start to pull away from the pan.  Again we are not going for a high heat because we want them to cook evenly and thoroughly – as well as get a nice brown on the potatoes.

Okay, now for the fancy flip.

After about ten minutes you can start to tease the side of the galette away from the pan, if it is not starting to do so.    At this point you will want to get a plate so you can flip the galette.  The plate needs to be bigger than your pan.

Take the skillet off of the burner. Carefully, place the plate a top of the skillet.  With your hand on top of the plate turn the skillet upside down so that the potato galette falls out of the skillet and onto the plate.  Now you can slide the galette back into the skillet to brown on the other side.

Let this cook another five to ten minutes until browned.   Remove from skillet and place on serving dish.  Garnish with more fresh herbs if desired.

Serve and enjoy.  This makes a great leftover meal as the flavors continue to melt together as time goes on!

IMG_3820


fall paleo pumpkin pancakes

Paleo Pumpkin Pancake Griddle

“‘For I know the plans I have for you,’ declares the Lord.  ‘Plans to prosper you and not to harm you, plans to give you hope and a future.’  Jeremiah 29:11”

These fall pumpkin pancakes have become a staple in our house this season.  In fact, recently we had it for breakfast every day for a week!  But in all truth we were tweeking the recipe, because we like our pancakes a little lighter and fluffier than the recipe we started with.  This recipe is paleo and gluten free.  If you are paleo, then you will not want to use a lot of maple syrup or any at all to avoid too much sugar.  They taste great layered with banana, or you could put some warm apple sauce on them.

This recipe makes about 10 -15 pancakes if you scoop them out with a 1/4 cup measuring scoop.

Fall Paleo Pancakes Ingredients

  • 4 eggs
  • 3 tablespoons coconut flour
  • 3 tablespoons almond flour
  • 1/2 can pumpkin
  • 2 teaspoons ground cinnamon
  • 1/2 teaspoon ginger
  • 1/4 teaspoon ground cloves
  • 1 cup full fat coconut milk
  • 1 teaspoon apple cider vinegar
  • 1/2 teaspoon baking soda
  • 1 cup pumpkin (about 1/2 can)
  • 1 teaspoon vanilla
  • 2 tablespoons maple syrup
  • 2 bananas sliced
  • Coconut Oil, butter or ghee for pan

Preparation Fall Paleo Pancakes

To keep this as simple as possible I mix everything in one bowl.  There are many recipes that call for mixing dry ingredients separately – in my house that translates into one bowl too many to clean.  The reason many recipes call for mixing the dry ingredients separately is to fully incorporate the baking soda.  Just mix it really really well and this will not be a problem.

Paleo Pumpkin Pancakes

You can substitute sweet potato puree in place of the pumpkin if you like!  One note, do not omit the vinegar.  It reacts to the baking soda and gives the pancake a little rise!

Paleo Pumpkin Pancakes Ingredients

Add all ingredients to large bowl and whisk very very well.  It will be the consistency of a slightly thick pancake batter.

Paleo Pumpkin Pancake Batter

Heat up your griddle.  You can use a frying pan, but it should be a well seasoned cast iron one to avoid sticking.   We are clumsy pancake flippers, so it’s just easier not to deal with the sides of a frying pan, hence the griddle.

Melt some coconut oil, butter or ghee in pan over LOW heat, and add batter.  Use a 1/4 cup measuring scoop.  That yields a good size pancake.  When you pour the batter onto the griddle it should sizzle just a titch.  Spread the batter out a little with the bottom of the measuring cup.  The pancakes will not turn out to thick and also they will have an easier time cooking through.

Paleo Pumpkin Pancake Griddle

Cook these slowly over a low or medium to low heat.  You really do not want the pan to start smoking.  They also have a better texture cooked over low.

When the top starts to bubble, or when the bottom looks nice and brown flip and cook on other side.  Layer with bananas.

paleo Pumpkin Pancake no syrup


You can eat them as is, but if you want add a little maple syrup.  That’s how my kids like it and we had them today for lunch!


Paleo Pumpkin Pancake EAT


massaged kale salad

massaged kale salad

This Massaged Kale Salad is one of my favorites, especially when there are fresh strawberries in season at the market.  Fresh picked strawberries are a sweet addition to the earthy kale and the citrus dressing.  Kale is a superfood that deserves room on every plate.  Most recipes for massaged kale salads call for green apples or other fruit, but I think the strawberries are the best.  Massaging the kale in an olive oil, lemon and salt dressing has the effect of cooking the kale.  The lemon also makes the iron content in the kale far more bioavailable (that means you absorb more!).

I hope you enjoy this kale salad!

[box]

Massaged Kale Salad with Farm Fresh Strawberries

  • 1 bunch fresh kale, washed
  • 1-1/2 cups fresh organic strawberries (from the farmer’s market is the best)
  • 2 tablespoons olive oil (expeller pressed)
  • 1 teaspoon sea salt
  • 1/4 cup minced red onion
  • fresh juice of 1/2 lemon
  • optional : 1/2 cucumber, cut into small cubes
  • optional : 1/2 cup toasted sunflower seeds,  slivered almonds or pine nuts
  • optional: 3 teaspoons fresh oregano or marjoram finely chopped

Gather your ingredients.

strawberries and lemon

Stem and chop the kale.   Place in large bowl and drizzle with olive oil, lemon juice and salt.

Massage kale gently with your hands for five to ten minutes.

IMG_1092


Toss with the strawberries, onion and other optional ingredients  (if using).

[/box]

Enjoy!


dinner in a pinch : R-amen!

“Our hope is that the winter of humanity will gradually be transformed to the bursting forth of love, for it is to this that we are called.” —Jean Vanier

This is becoming another favorite for the evenings when the kids have activities and we are at a pinch for time.  When I was young we used to LOVE ramen noodles.  My brother and I would come home from school and eat the noodles straight from the pack – without even cooking them!  So, this meal is a trip down memory lane.

Now though, as a student of holistic nutrition, the ingredients in your average store-bought ramen present a major culinary impasse.  We just can’t do the ninety nine cent ramen pack- loaded with MSG and lacking any nutritional value.

It’s important for me to nourish my family well, especially during the cold winter months when it’s all too easy to come down with the flu or a cold .  With all that home made broth we’ve stocked in our pantry, we now have an easy canvas for almost anything we can throw together.  Add to that the mineral richness of stock and bone broth, and your getting a great meal with immune boosting properties.

Recently, I discovered Lotus brand foods.  They have a great and fun selection of ramen noodles, with a short but admirable list of ingredients.  There are individual soups, to which you can just add water, but we really like the big packets of ramen noodles.  There are Millet and Brown Ramen,  Forbidden Rice Ramen made with black rice and Jade Pearl Rice.

Lotus Brand Ramen Noodles

A well stocked pantry makes this an easy weeknight meal.  You’ll need some vegetables of your choice, noodles, seasoning and broth.  This recipe is really a framework for whatever you have on hand.  We make it new every time but this serves as a good guide.  You can use anything you have on hand.


super easy R-AMEN! (serves 4)


ingredients

1 packet Lotus Ramen noodles (4 squares of pressed ramen/ package)

Vegetable of your choice – we used 4 carrots – shredded with a vegetable peeler

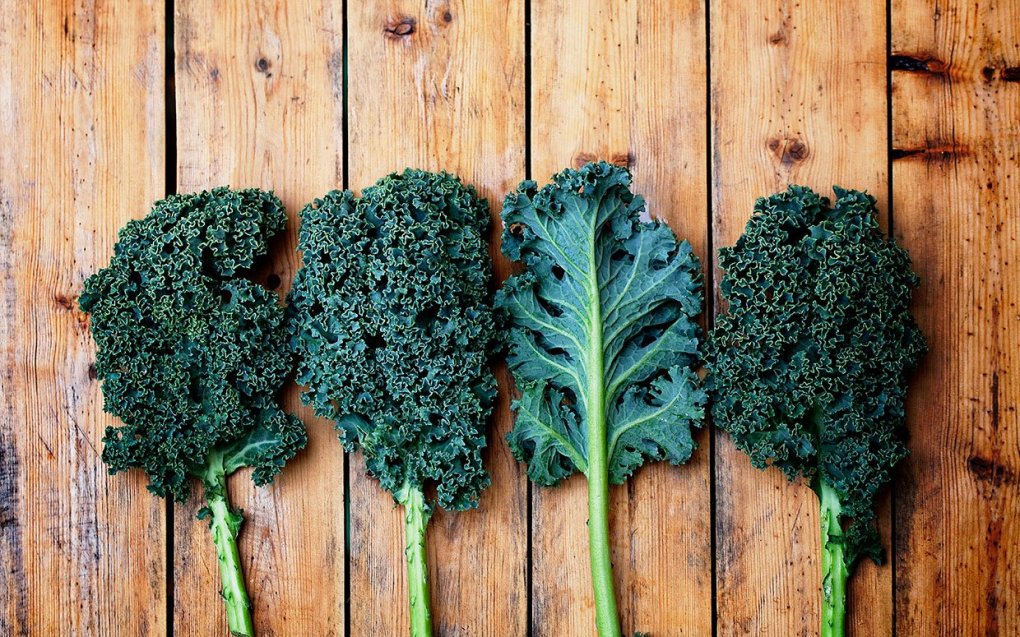
a few handfuls greens per bowl- baby spinach, baby kale or even lettuces

6-9 cups chicken, beef, fish or vegetable stock

optional: 1 cup fermented tofu, shredded chicken (we always have leftovers from making broth) or any meat or fish

also optional : wakame seaweed flakes, toasted sesame seeds, sliced green onion, chopped parsley, basil or cilantro, red pepper flakes or hot sauce of your choice     🙂


IMG_0264

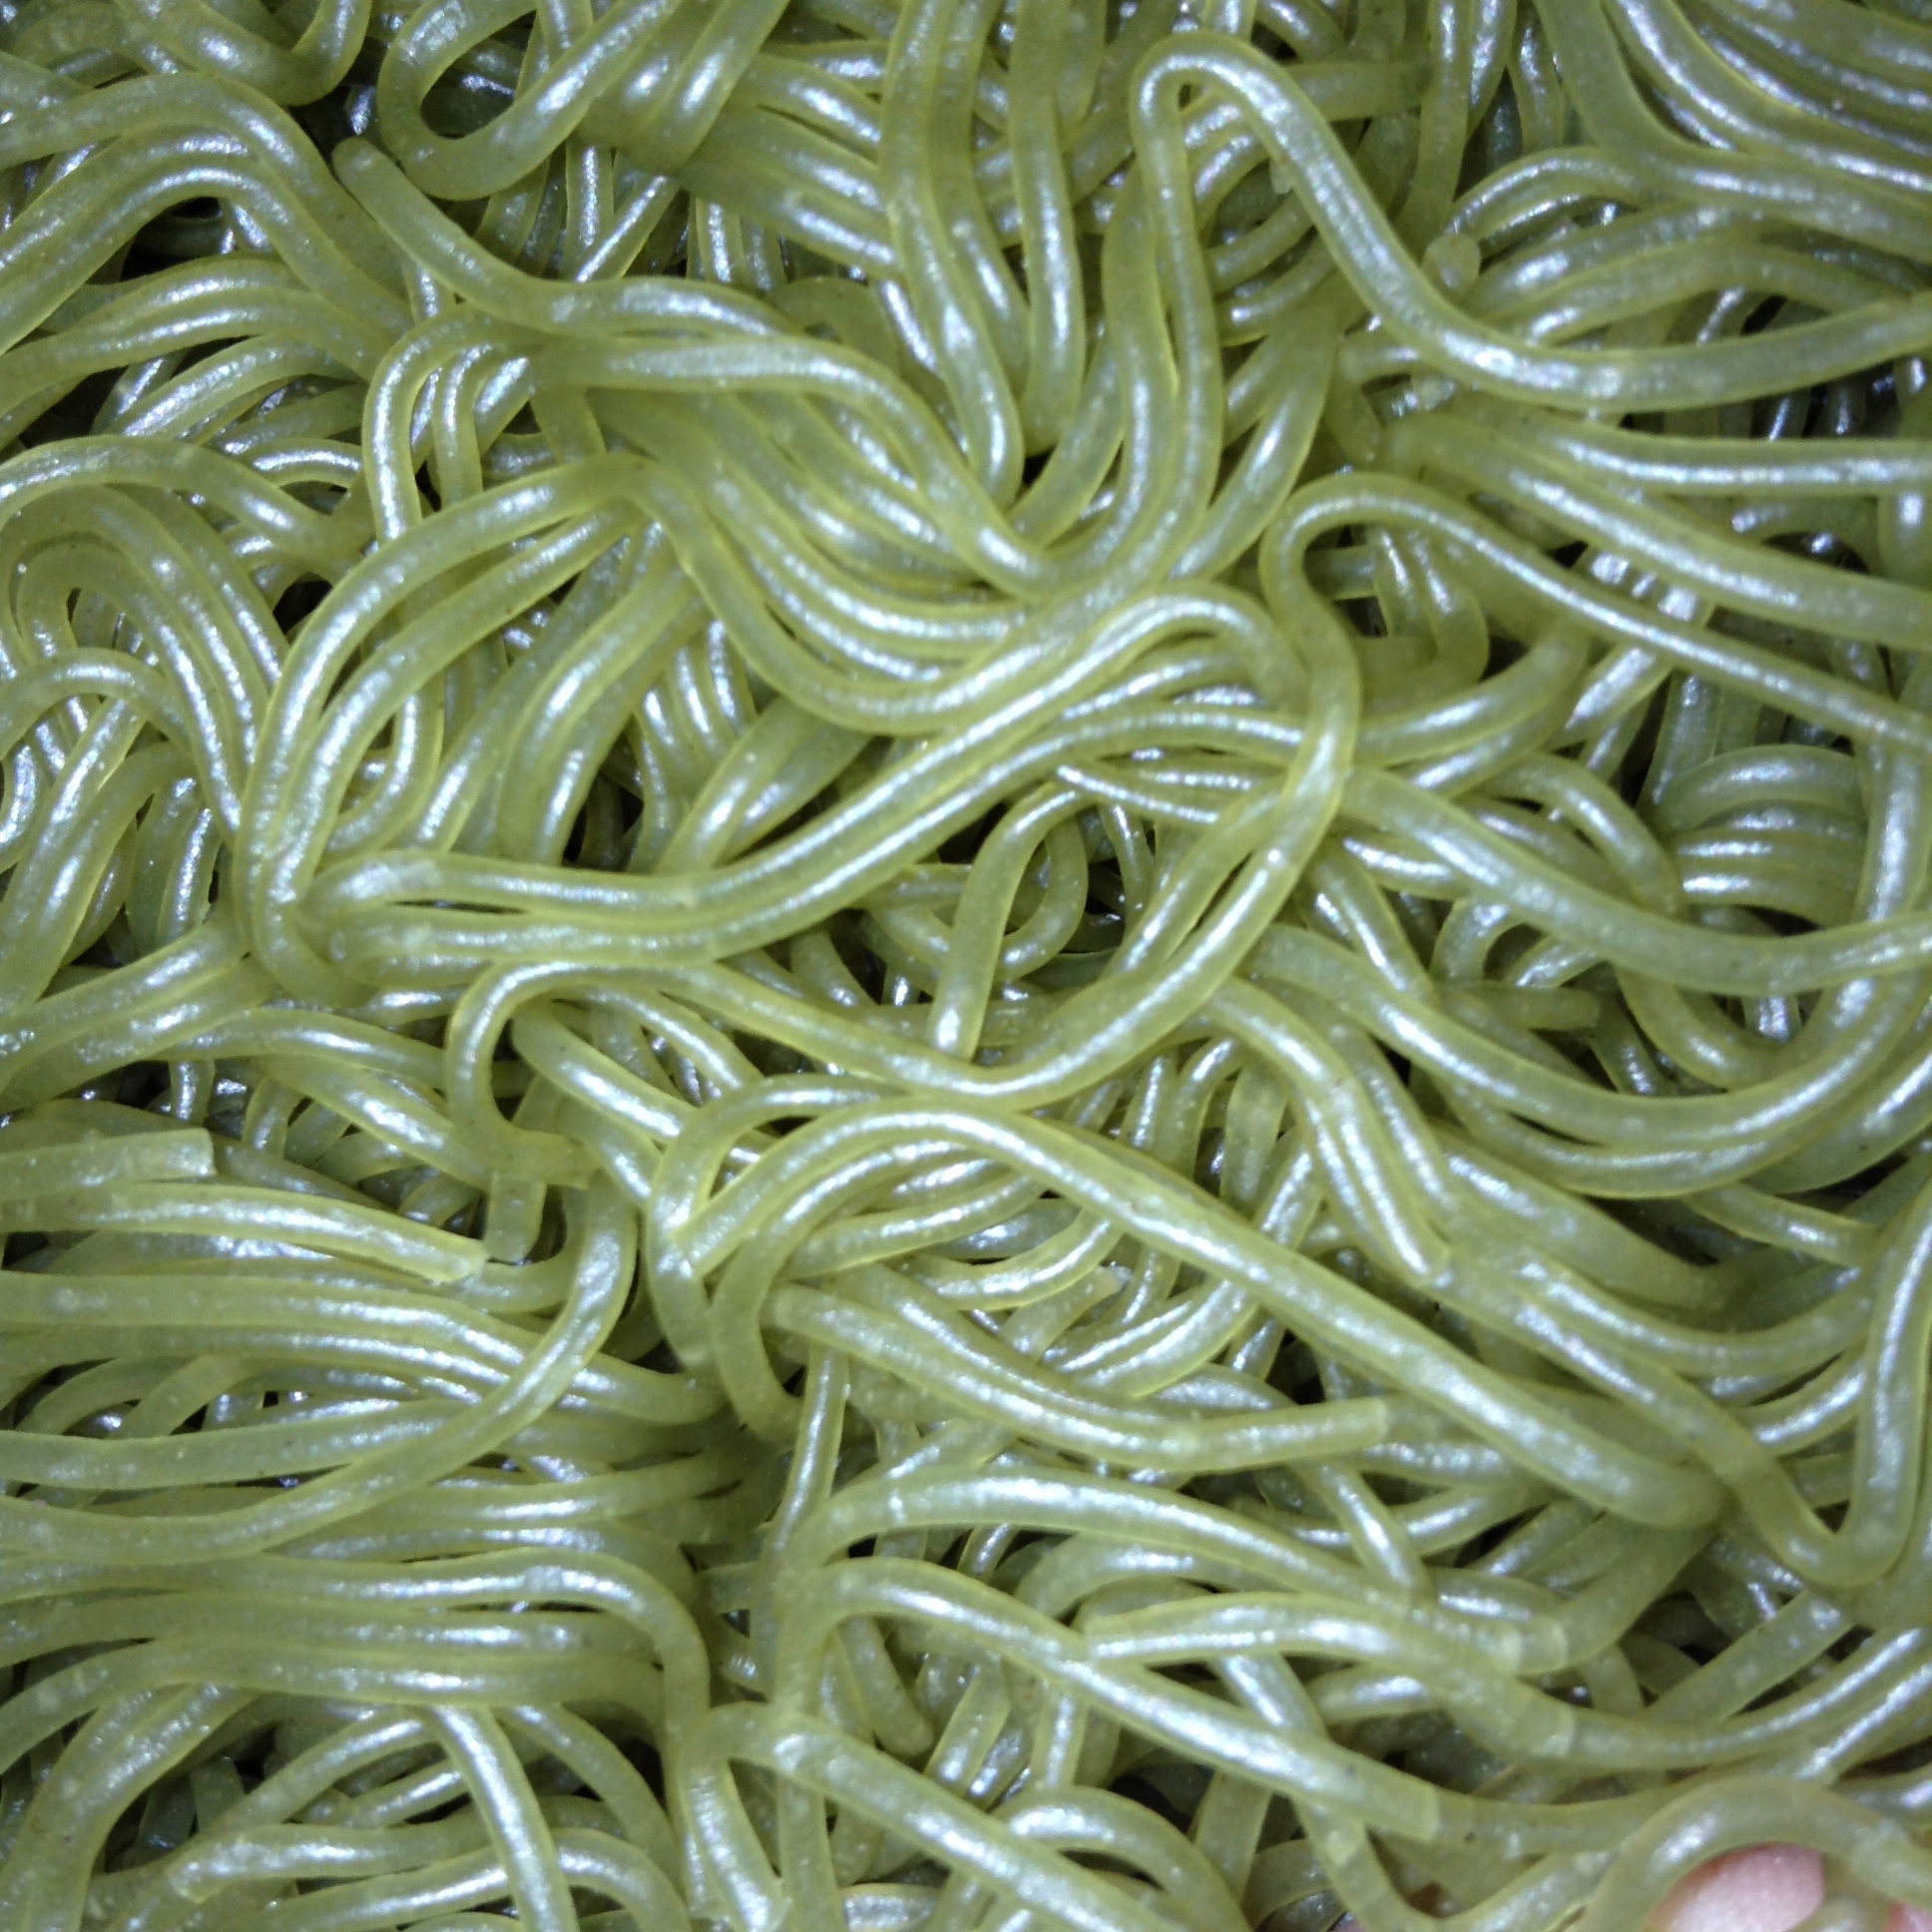
Unccoked Jade Pearl Ramen

preparation

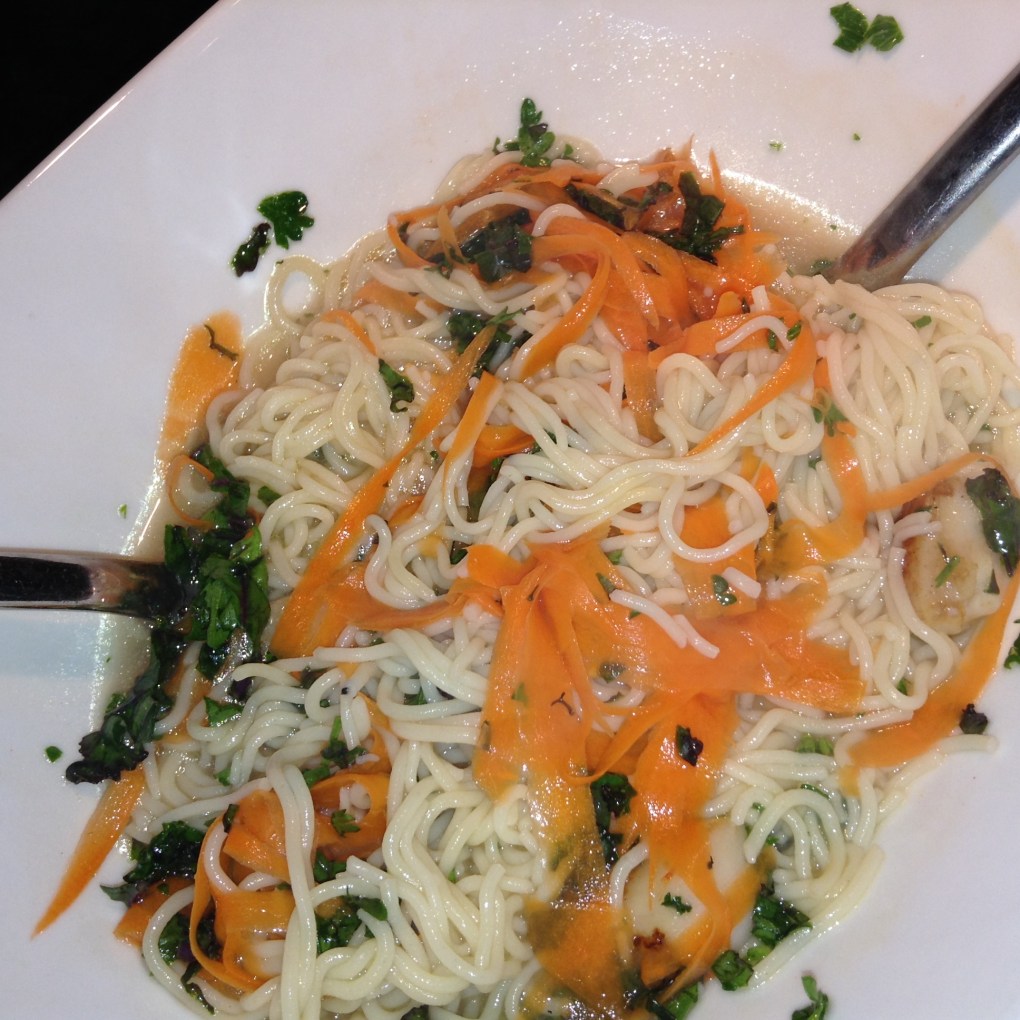
place equal amounts of carrot shavings and greens into each bowl  (about a heaping cupful or two for each serving, they will wilt nicely once you place the hot broth into the bowl).   Really, any vegetable is fine, you can just as easily use red or green peppers, tomatoes, thinly sliced cabbage, sliced fresh green beans, bean  or other sprouts – whatever you have on hand!

IMG_0258

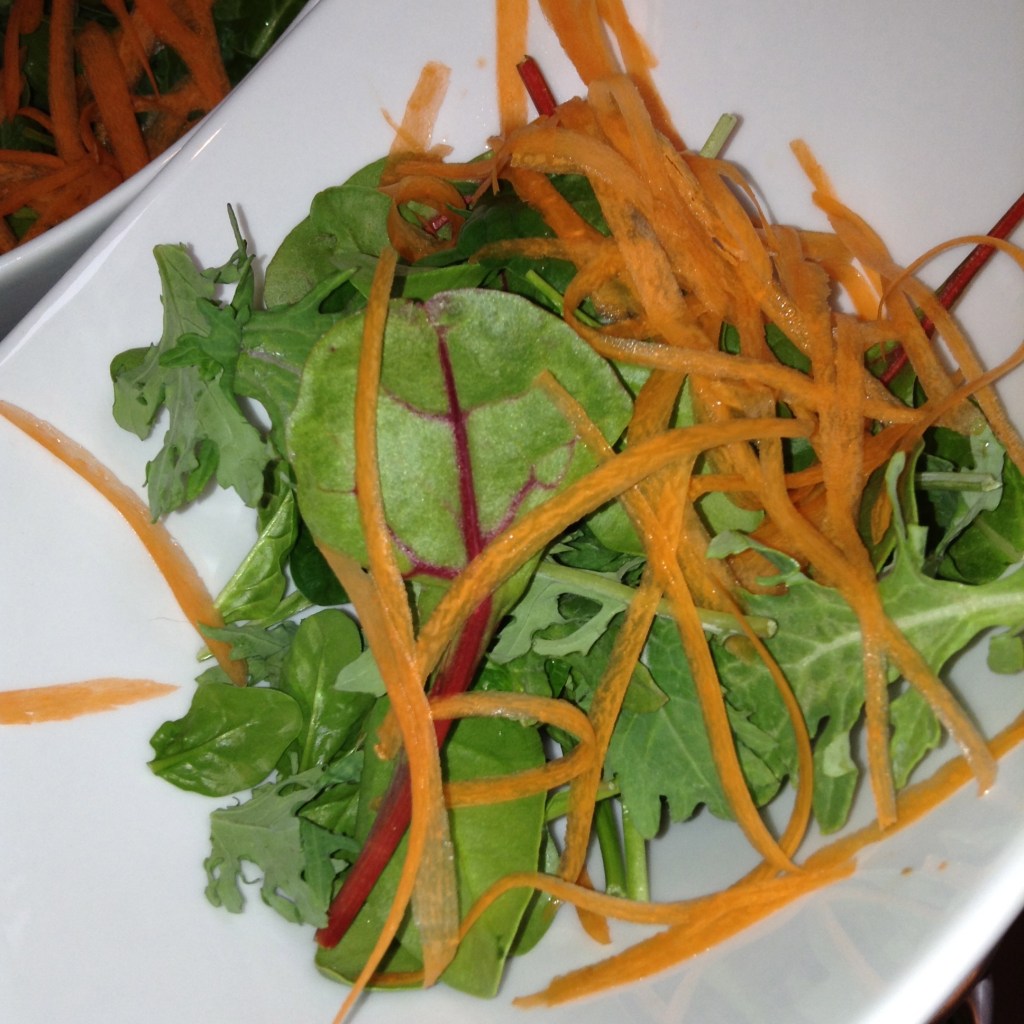
greens and vegetables

place ramen noodles and broth into a pot and warm until ramen cooks – about 5 – 10 minutes.  You can also cook the ramen in boiling water.

Ladle ramen noodles and broth distributing evenly between bowls.

IMG_0268

For a variation, top with a spoonful of homemade sauerkraut or kimchee for an extra tang!  YUM!  Fry or poach a pasture raised egg and lay it on top of of your soup if your extra hungry.

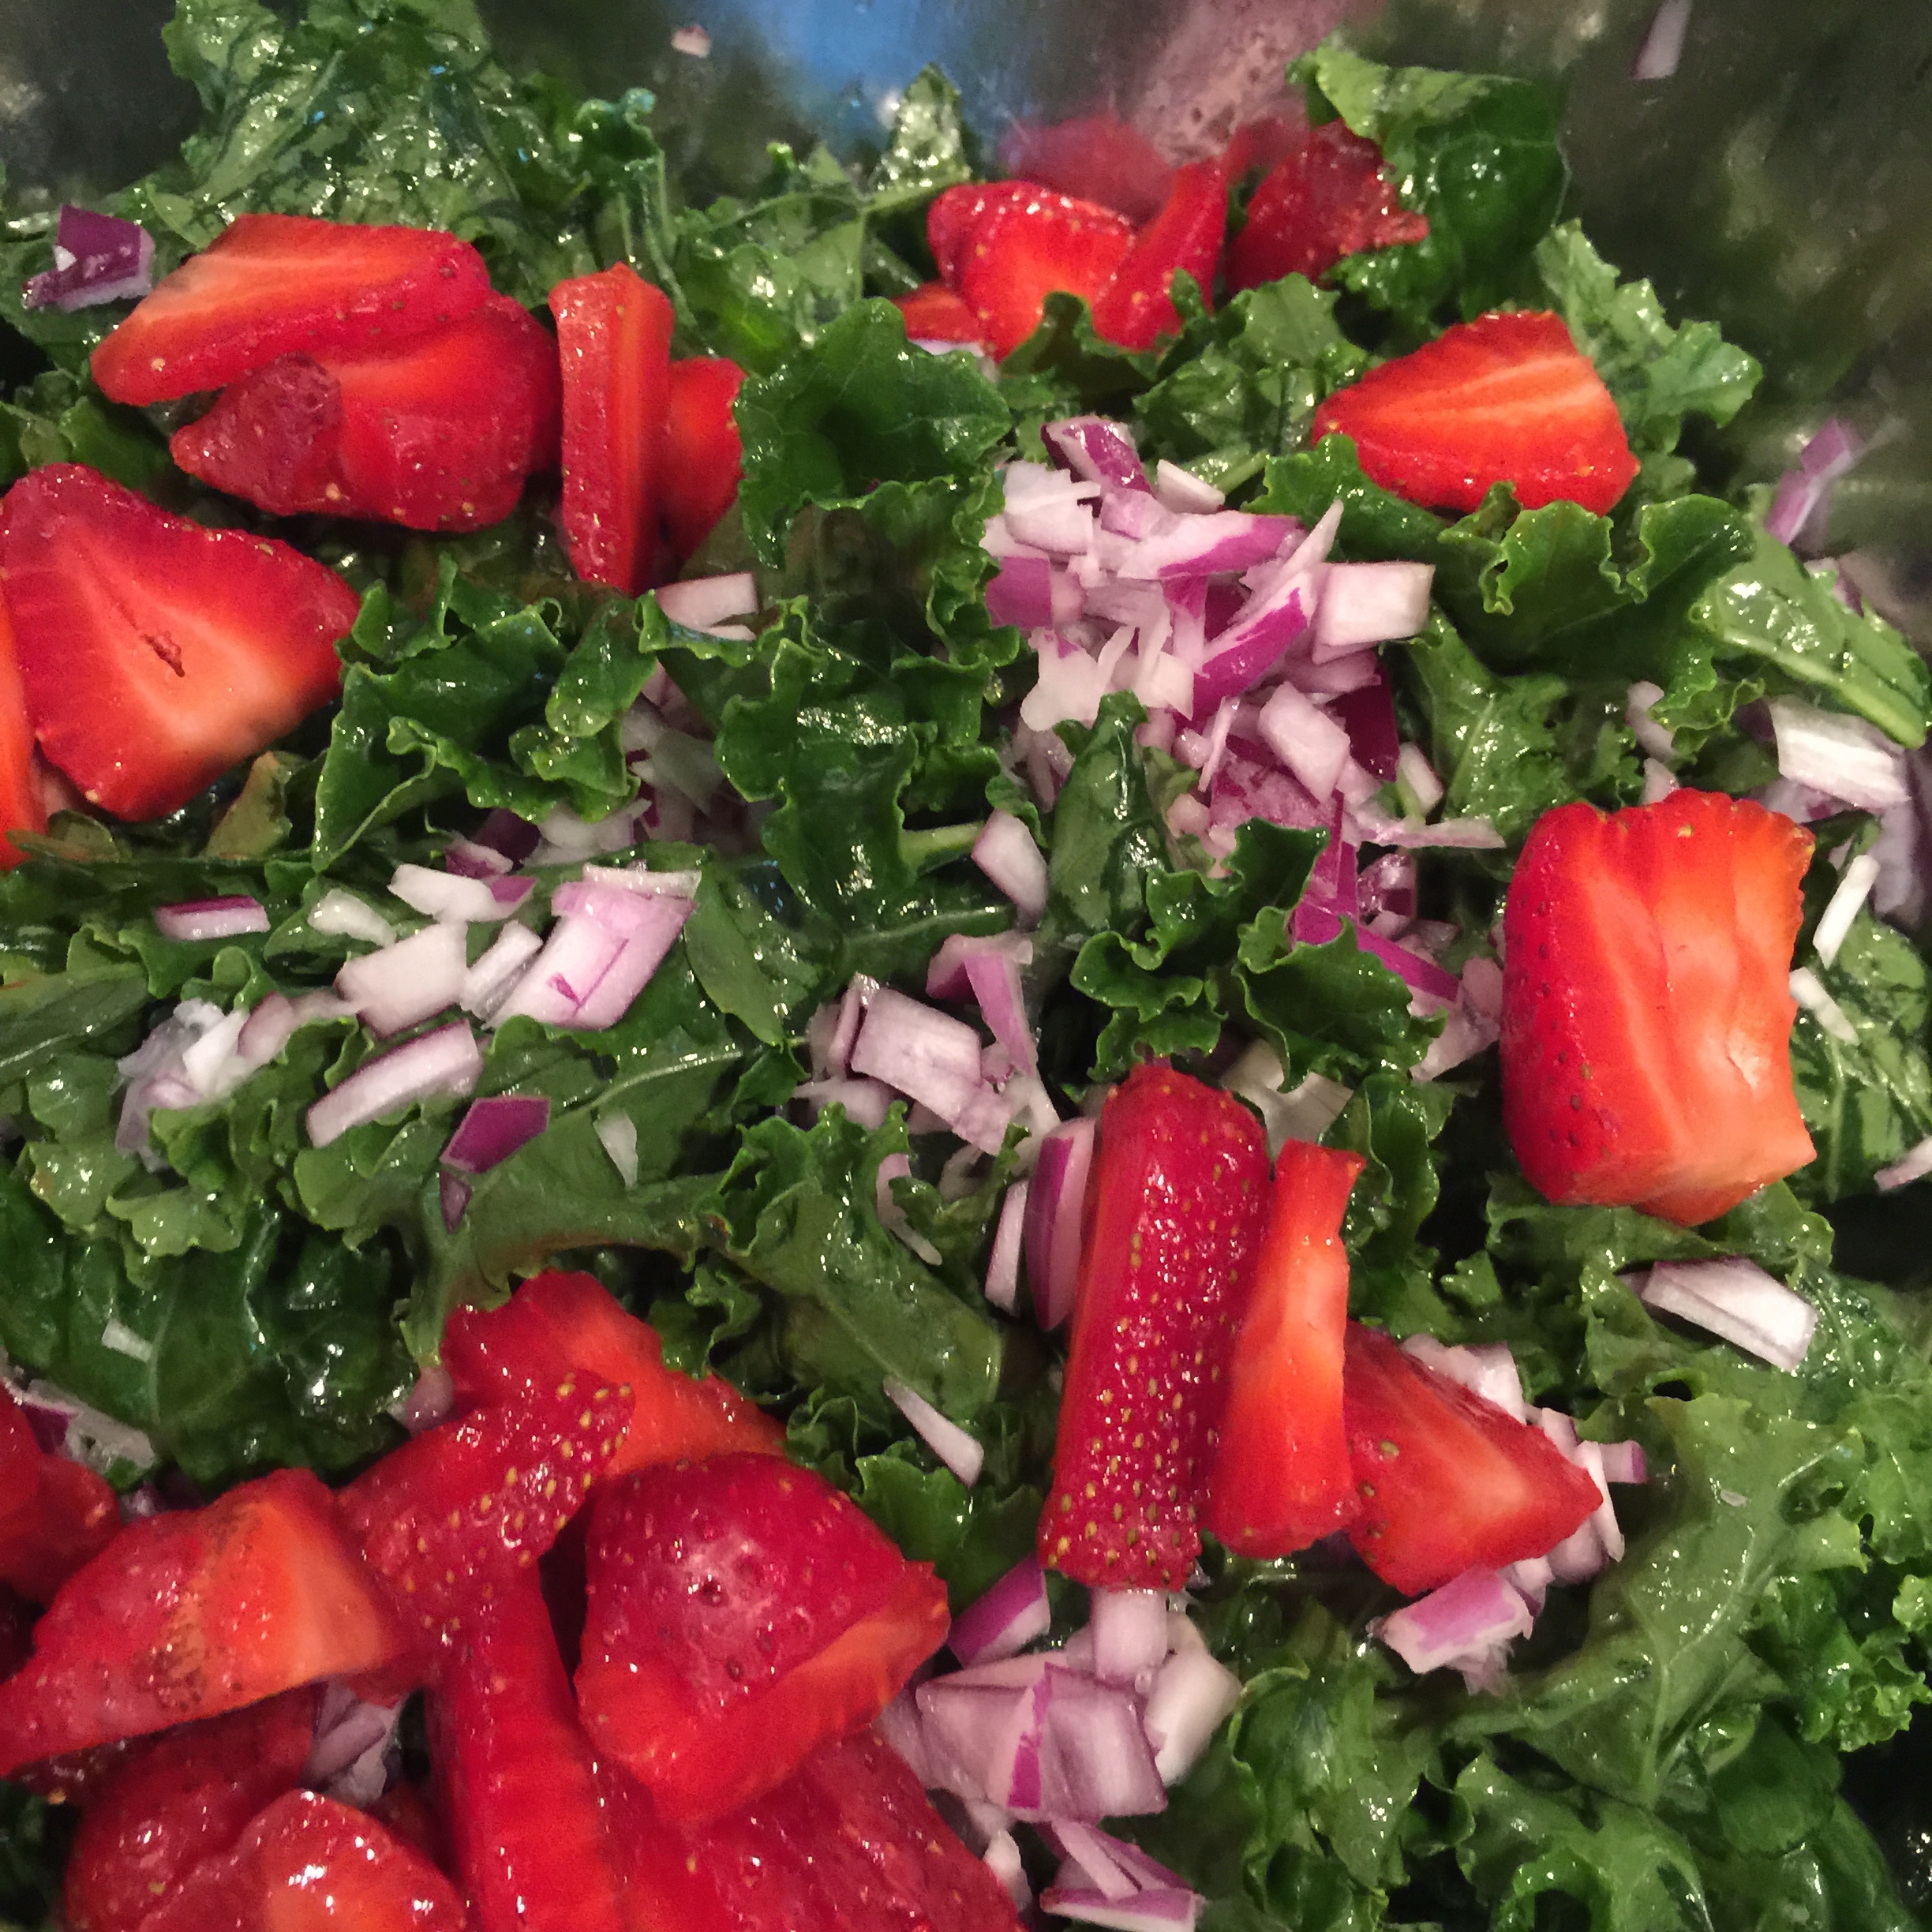
Serve with a big side salad and you’ve got an easy weeknight meal!